Hi everyone! I’ve just finished an art journal video which will be posted on Faber-Castell Design Memory Craft’s blog next week. You can see my other Design Memory Craft designs here and here. In the meantime, I’m having a lot of fun in my junk journal. When I was first introduced to this concept I had a difficult time understanding what a “junk” journal was all about. Why would anyone want to journal junk? Isn’t every page sacred?
Well guess what? No pages are sacred, that was just my perfectionism talking. I am now a complete convert and here’s why: Junk Journals = freedom! Freedom to make mistakes and experiment, which in turn frees your creativity from perfection. You can do no wrong. Make sense? Here’s a peek at my junk journal. The cover is made from a Trader Joe’s grocery bag. I’m not worried about messing up a grocery bag, that’s for sure!


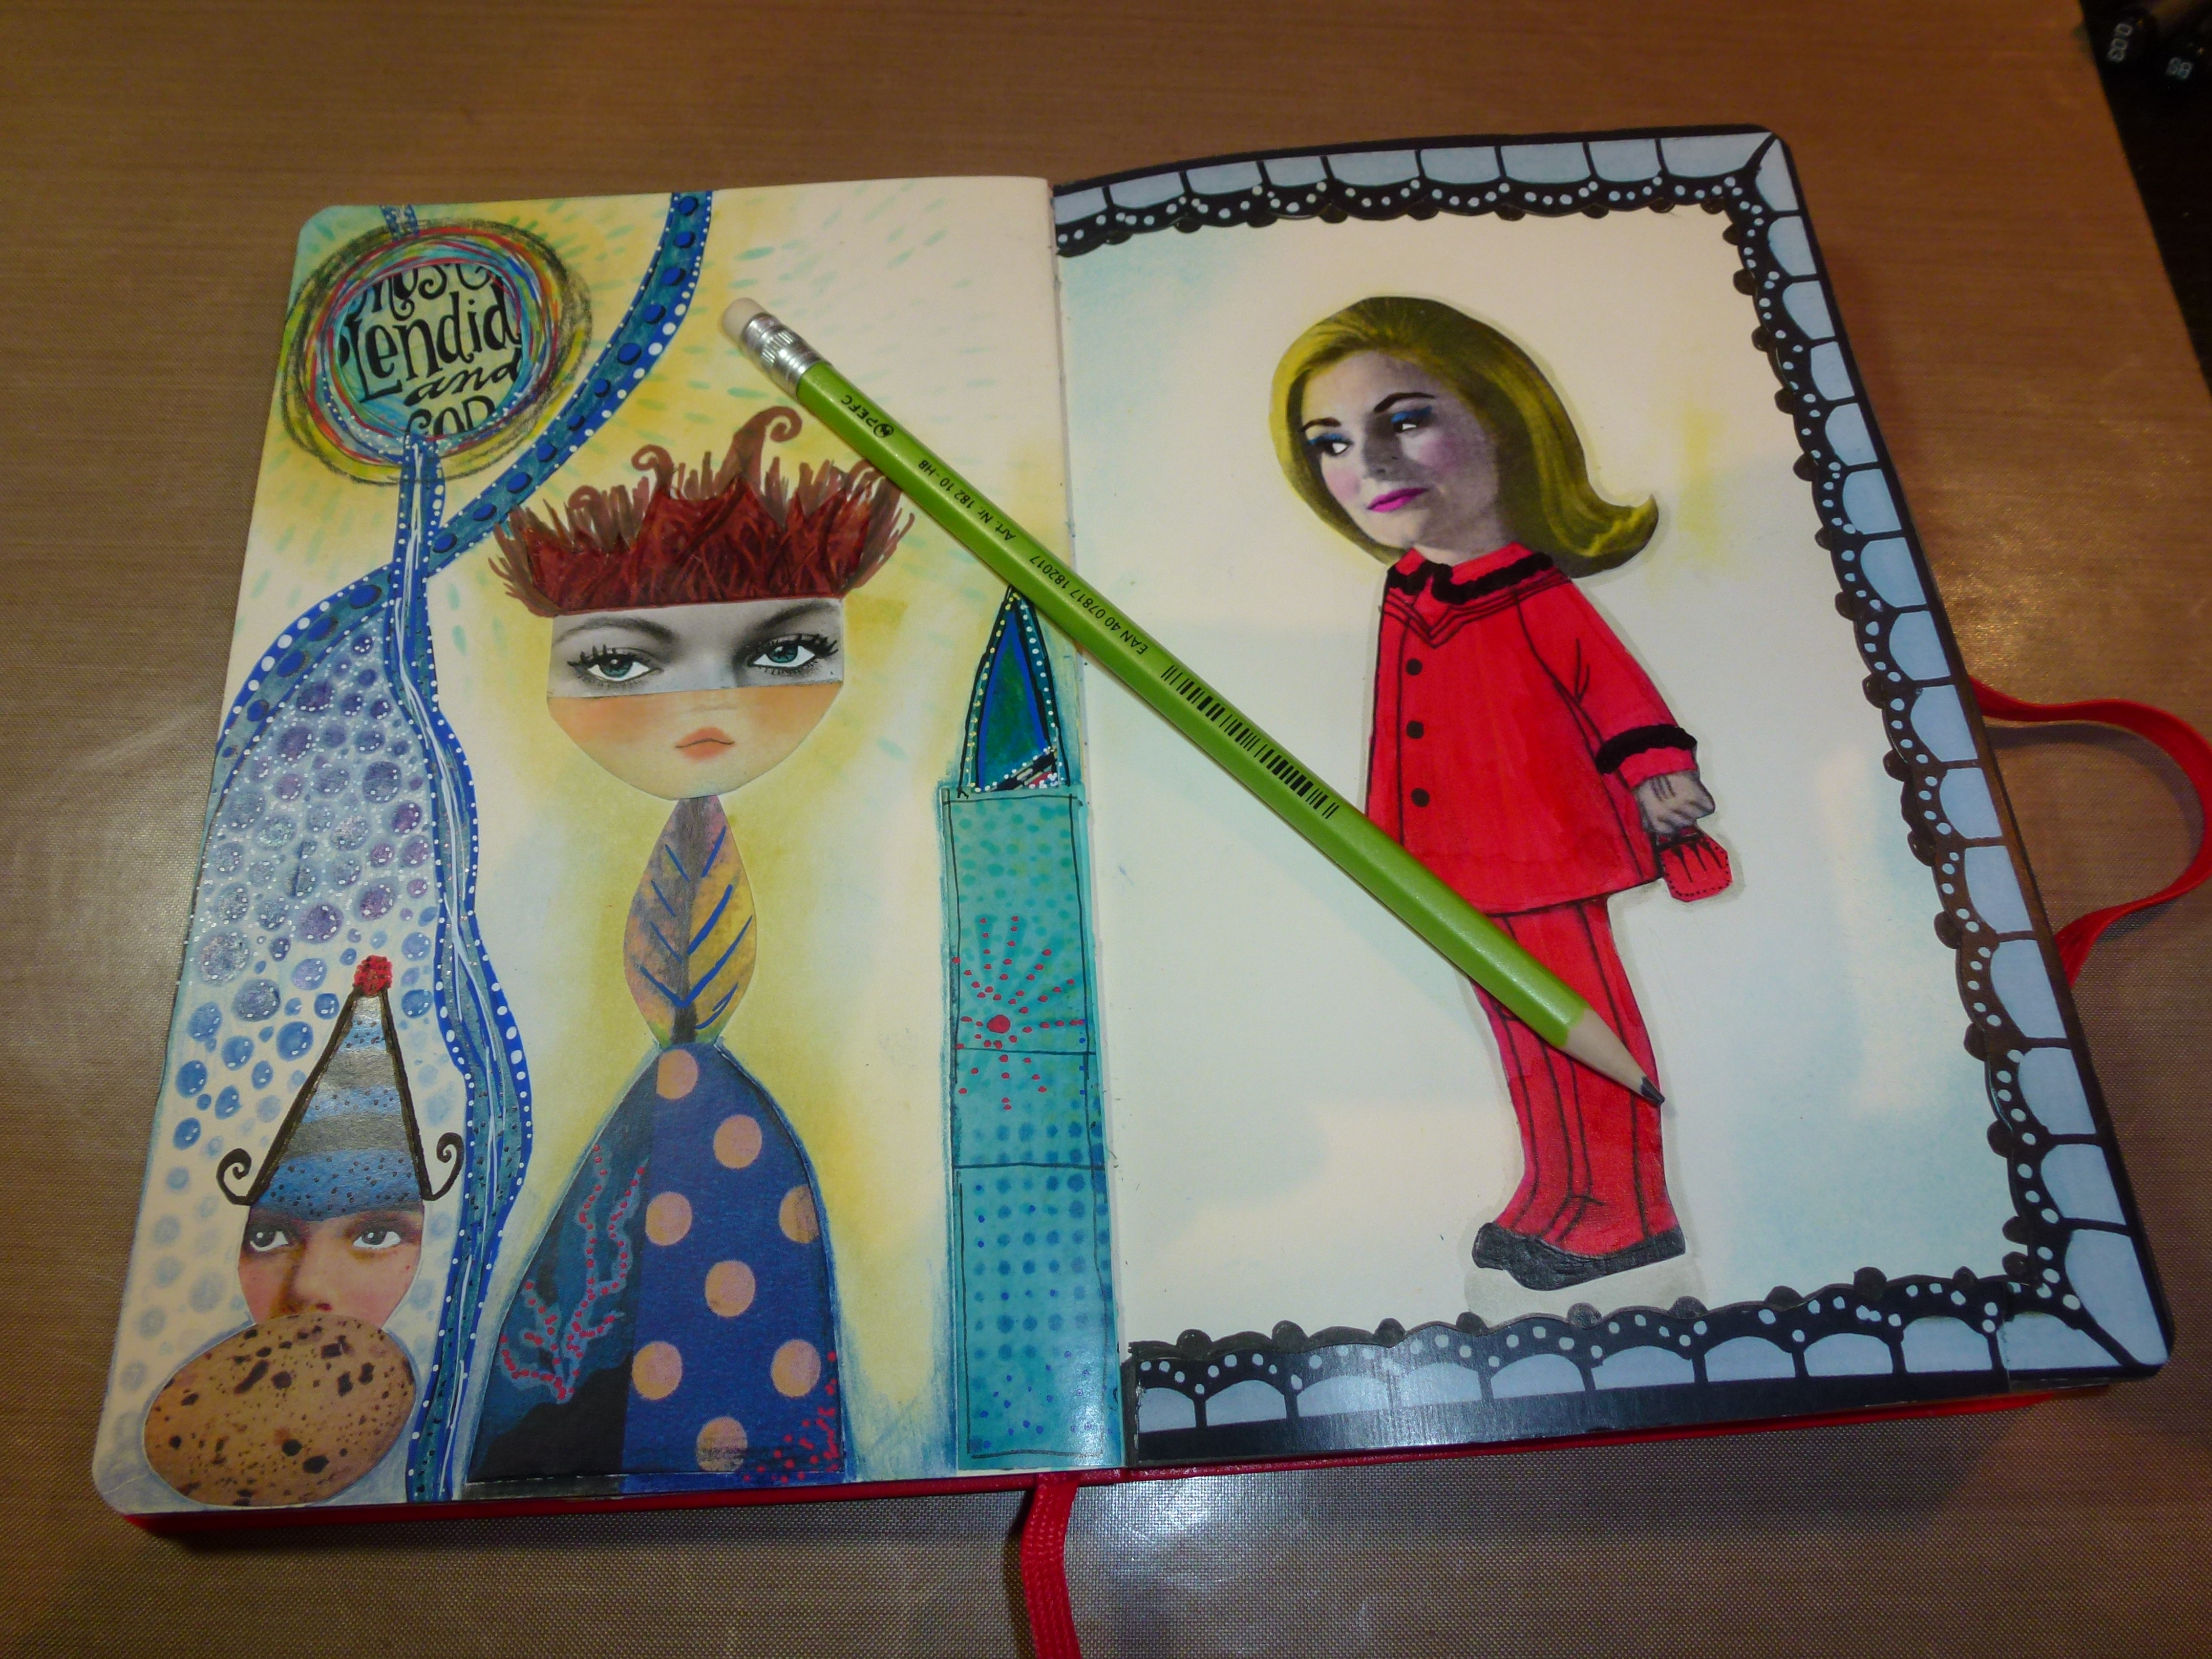
The inner pages are made from junk paper (envelopes, old book pages, scrap paper scraps, etc.). This cat illustration was cut from an old children’s book. I embellished, add some new elements and decorated the page.

The red bird is a collage item from a color laser copy of another of my projects. I added the tree and buds.

Pages aren’t the same size, the same color, nor even from the same source (although you could use a cheap notebook)! If you are having some challenges with a blank page or wondering how to start art journaling, I highly recommend giving junk journaling a try. It’s a wonderful antidote to the fear of mistakes! Stay tuned for more of my junk journal pages… happy journaling!
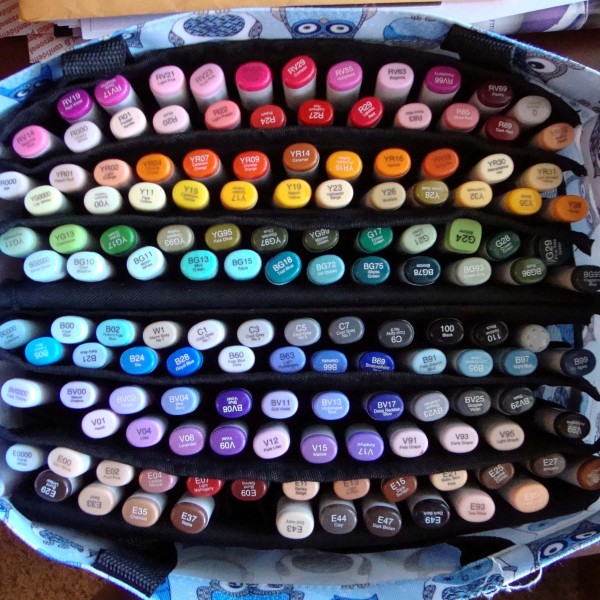
CLICK HERE for a list of the materials I used.
xo, seena