I love getting snail mail, don’t you? Not bills or flyers – I mean something addressed to me in someone’s handwriting, with stickers or colourful embellishments to grab my attention. And if that envelope is just the wee bit on the chubby side… well, who knows what goodies await?!
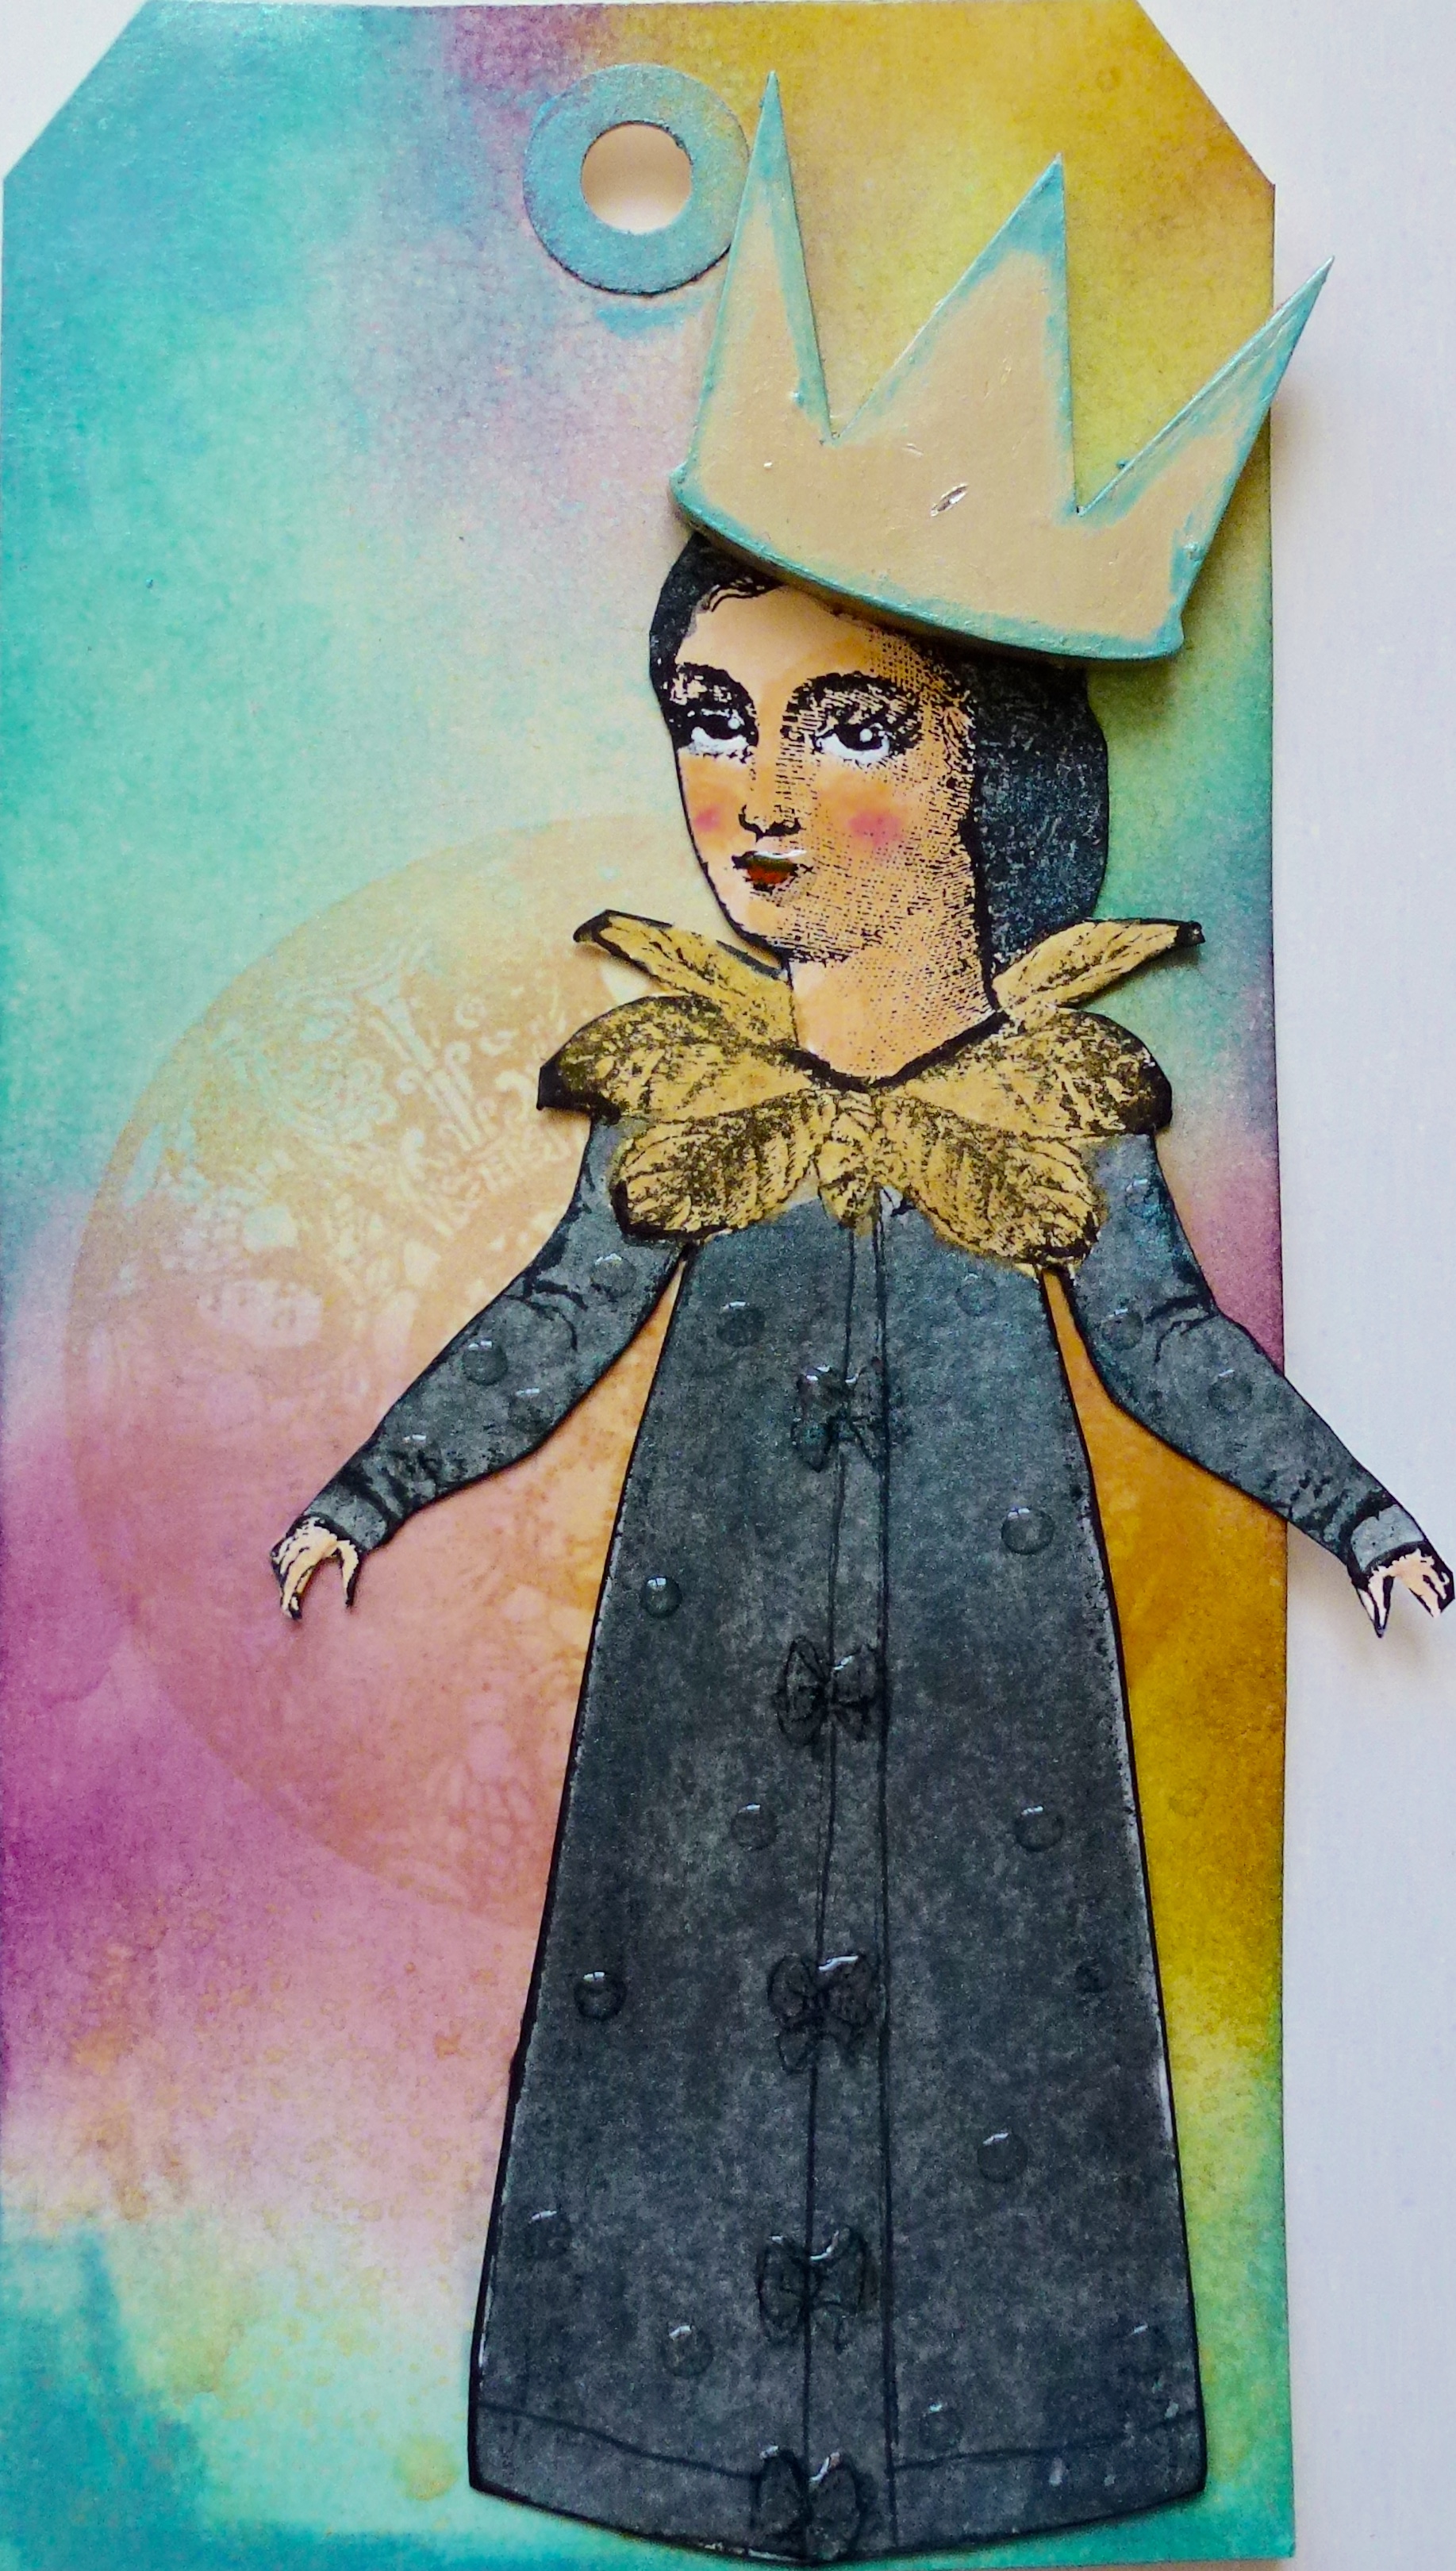
Just such an envelope was waiting for me last week. Excitement! Inspired to reciprocate, I pulled out my watercolours to finish creating a tag I’d started on another project. Here’s how it turned out. Have you every tried painting with watercolour? Let me know what you think!
If you’re looking for a smaller project, creating tags is a great option. Smaller in scale than an art journal or canvas, the techniques can be applied to any paper substrate. Here I use distress inks in various ways, ink sprays, mediums, stamps and perfect pearls to achieve eye catching, shiny tags.
The finished tag. Leave a comment and let me know what you think of the new opening for my youtube videos!
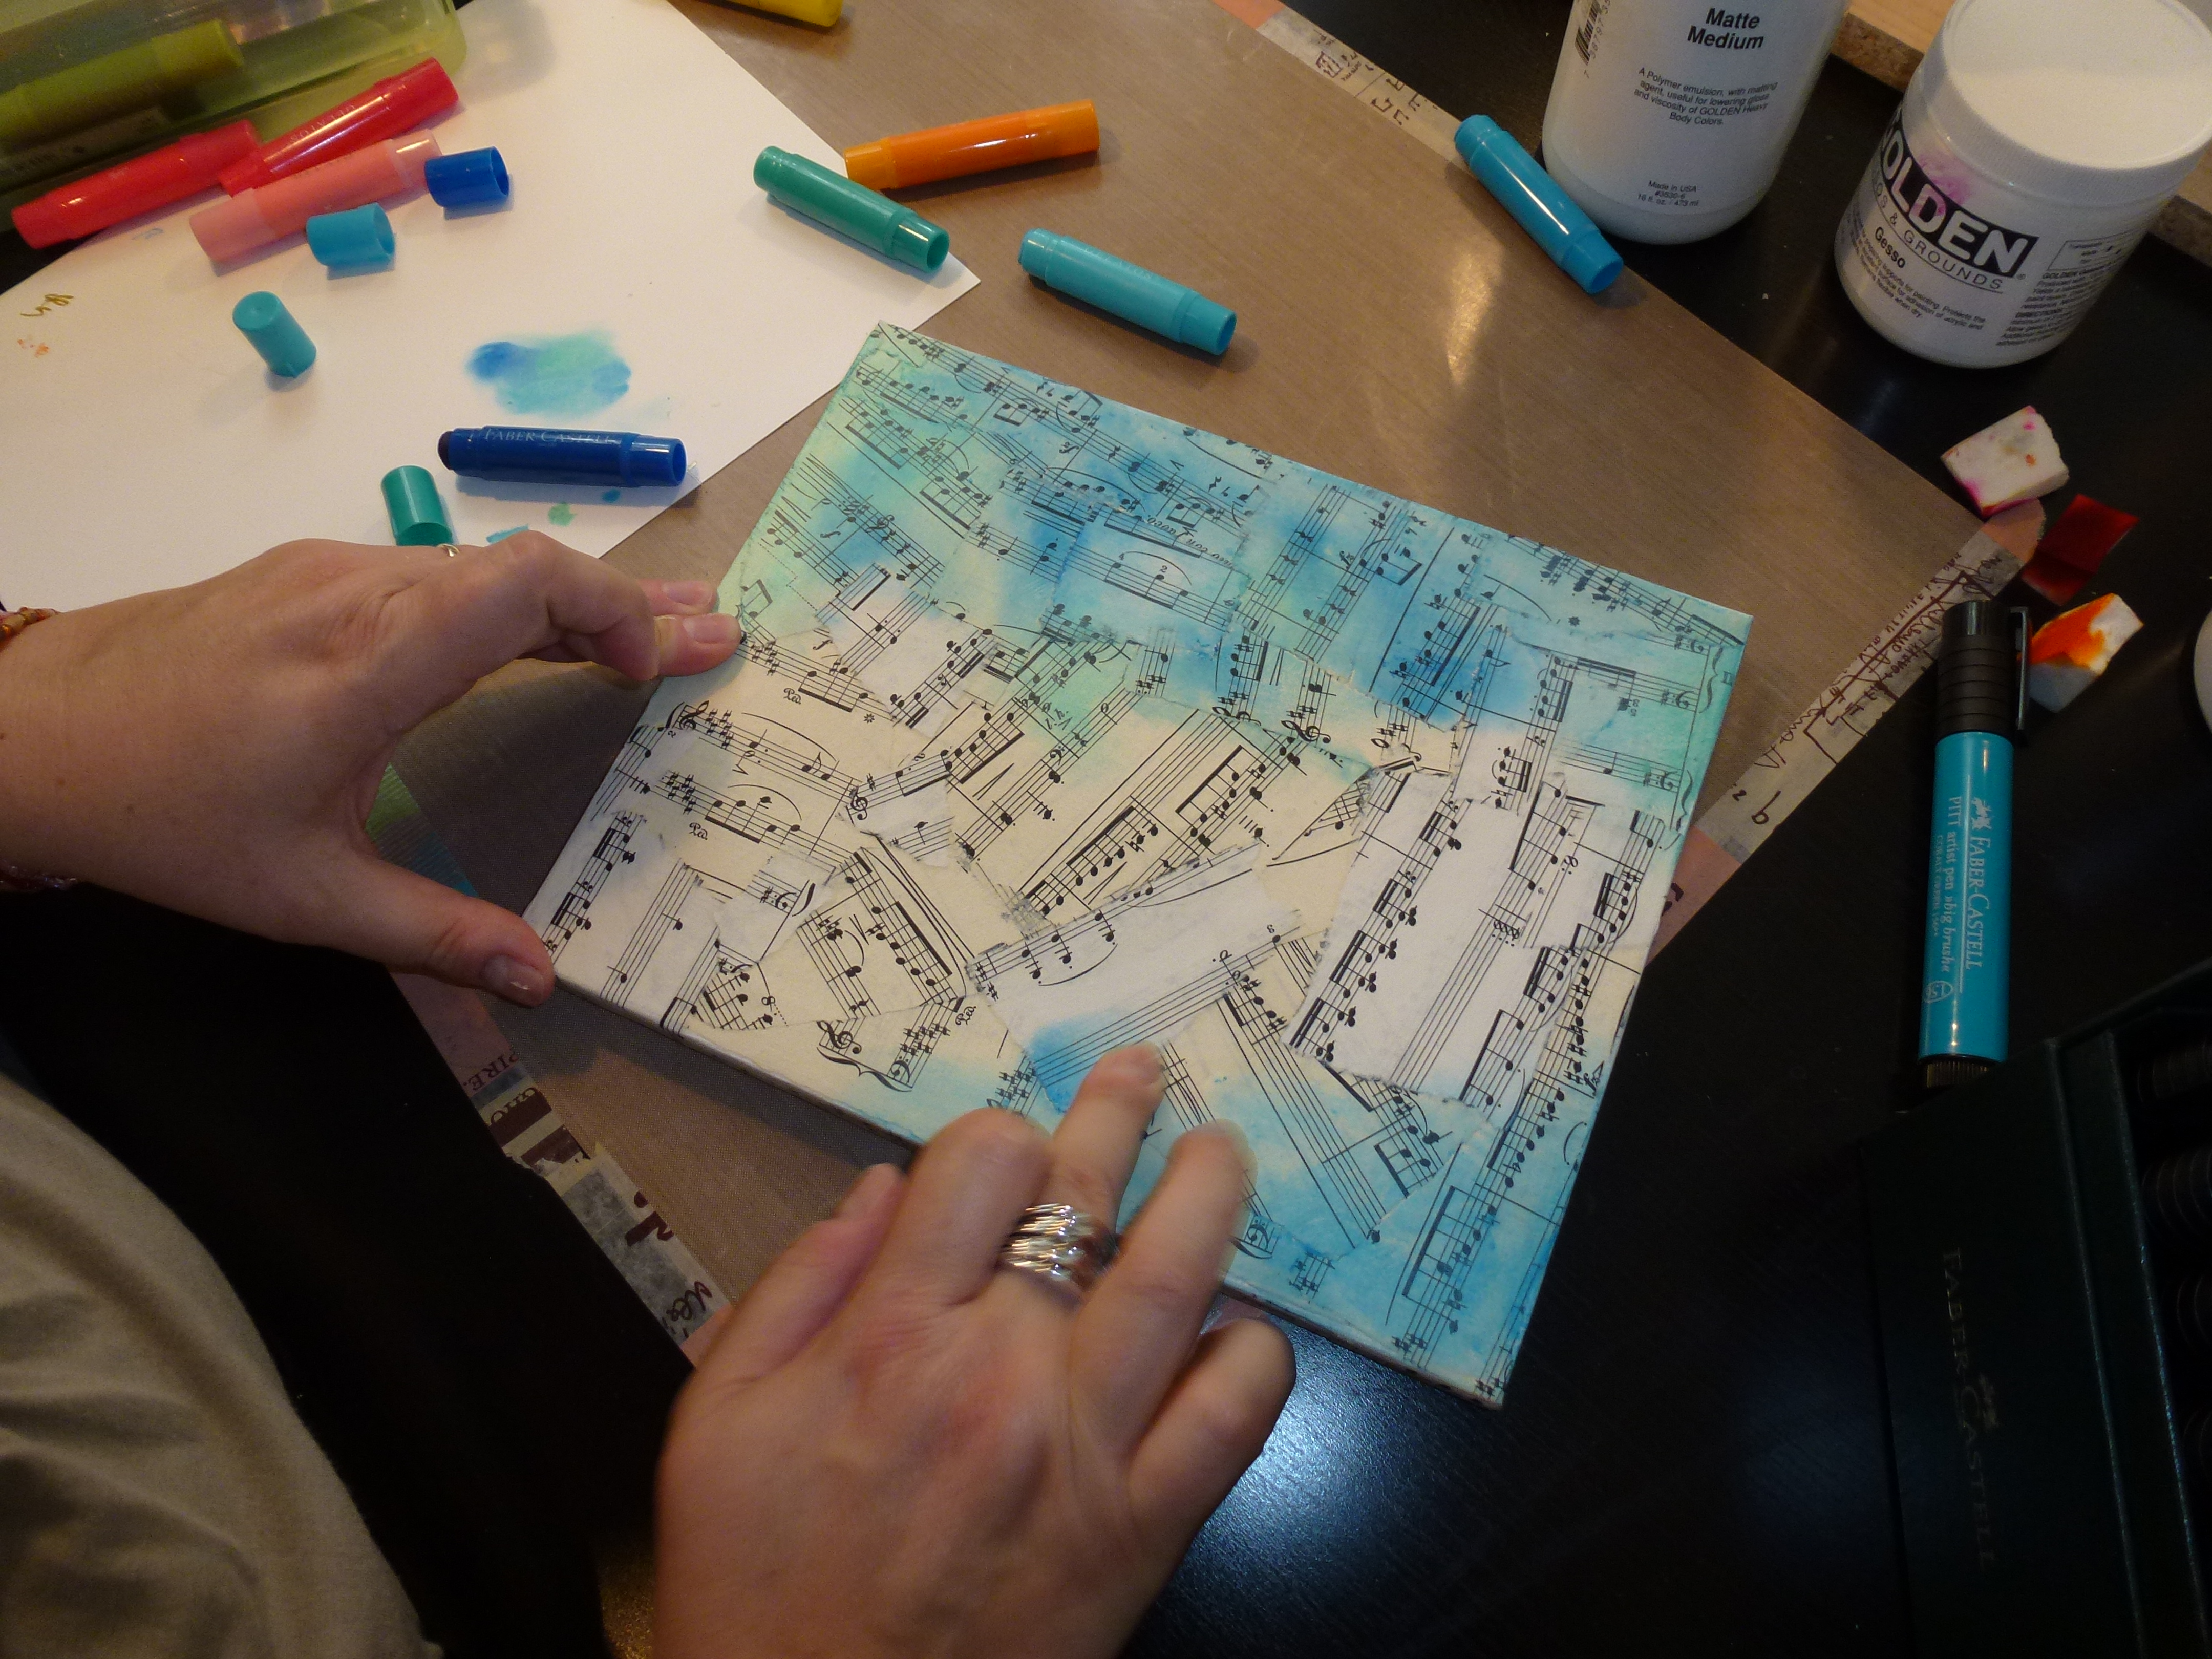
I made this canvas for a family member for Christmas. Happy to say he loved it! I’m lying low for the holidays, so no more posts from me until January. Well, maybe one. I do have a Design Memory Craft post coming out next week! Need a rest and time to create more art to share. Merry Christmas to you!
What on earth am I creating? Well, I’m glad you asked! Head on over to the Faber-Castell Design Memory Craft® blog to see the finished project! And please, leave a comment if you can!
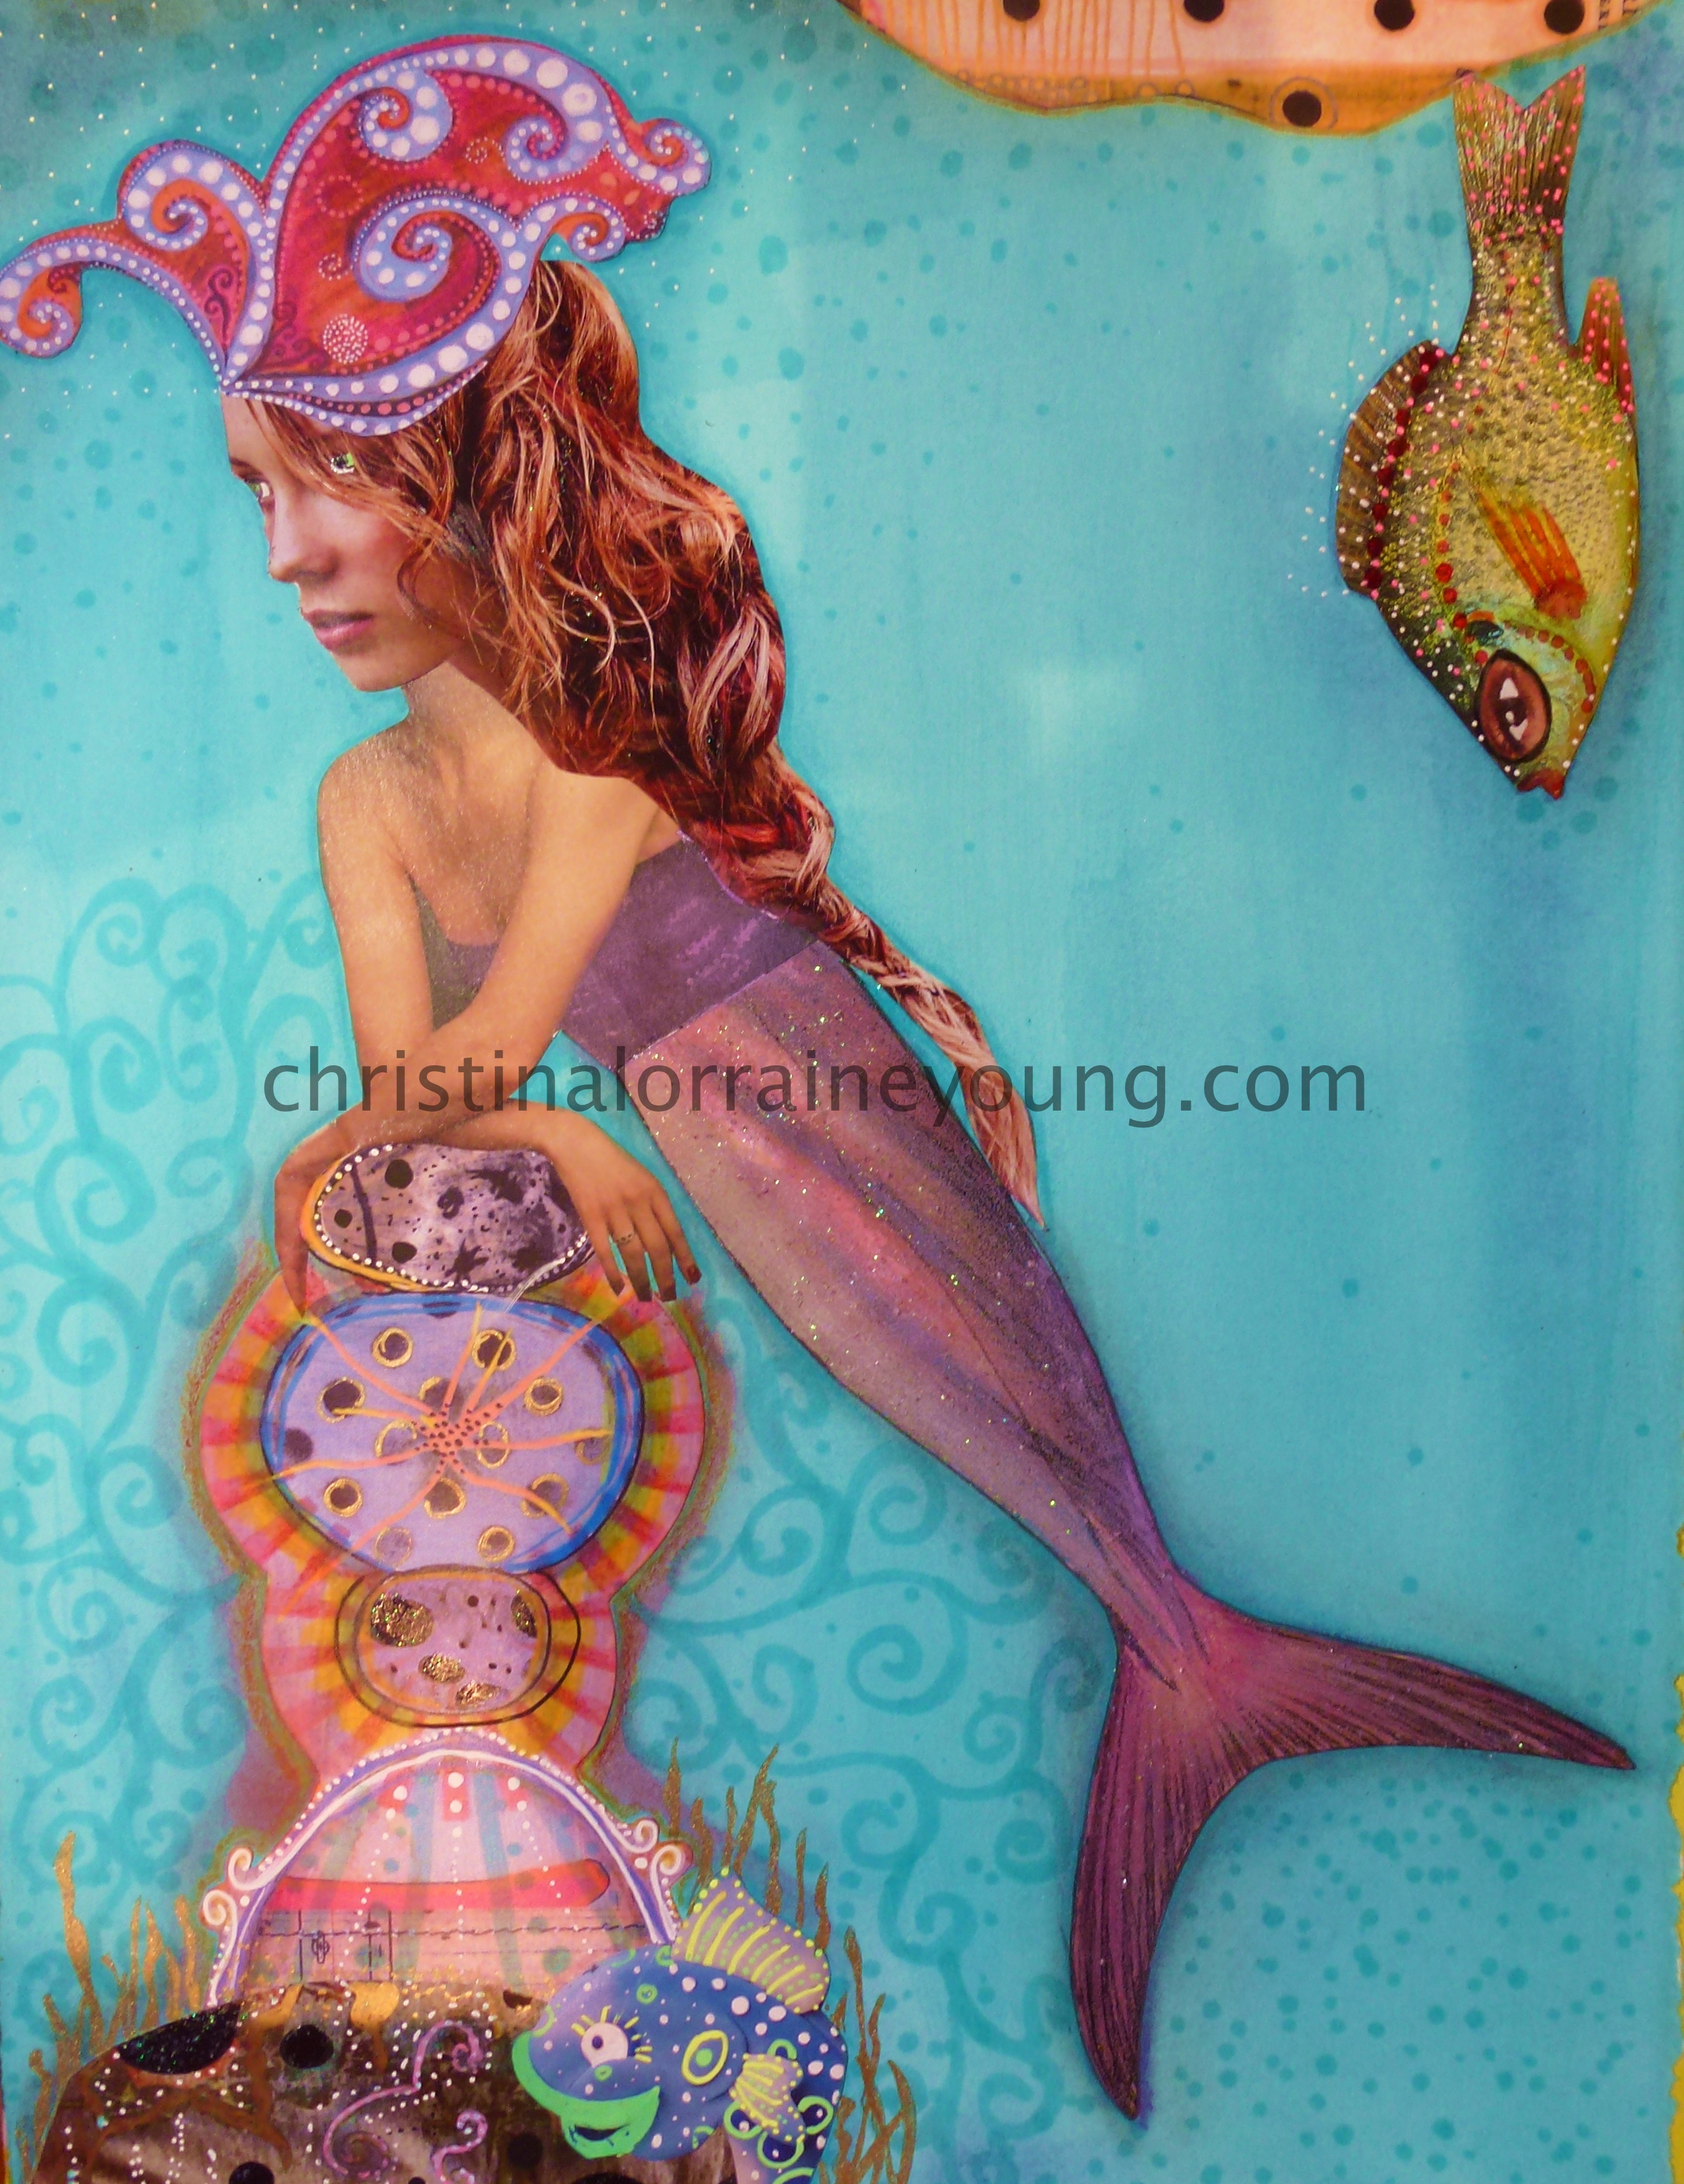
I’ve been lucky enough to participate in Jane Davenport’s and Teesha Moore‘s Mermaid Circus online workshop where we create, of course, mermaids! I want to share with you a couple of the many mermaids I’ve been working on. These pages aren’t quite finished as I find myself working on several pages at once, rather than completing a page before moving on to the next one.
While there’s a lot of mixed media in this class, these pages emphasize collage work. Let me tell you, I am LOVING collage! I have found the Tombow MONO Adhesive runner to be an invaluable tool. If you aren’t familiar with it yet, it’s basically double-sided tape on a runner. It’s quick and easy to use and allows you to avoid the bumps of glue from a stick and the drying time of a wet medium. Bonus: these are refillable, which cuts down on the replacement cost. I keep several refills around to keep the creative flow going!
I hope you get inspired to create your own collage. I’d love to see it. Leave me a comment and pic below!
It’s such a treat to receive snail mail these days. Not bills, but other more personal missives. Look at this package I received from Teesha Moore’s Etsy shop:
Seeing all that pretty washi tape peeking out of my mailbox filled me with happiness. So lovely! Inside were art journalling magazines featuring lots of Teesha’s art, some collage sheets and a set of Teesha’s discontinued rubber stamps.
And even a little surprise:
Teesha Moore has a brand new website. I absolutely love her art and have a feeling you will too, if you haven’t discovered her already!
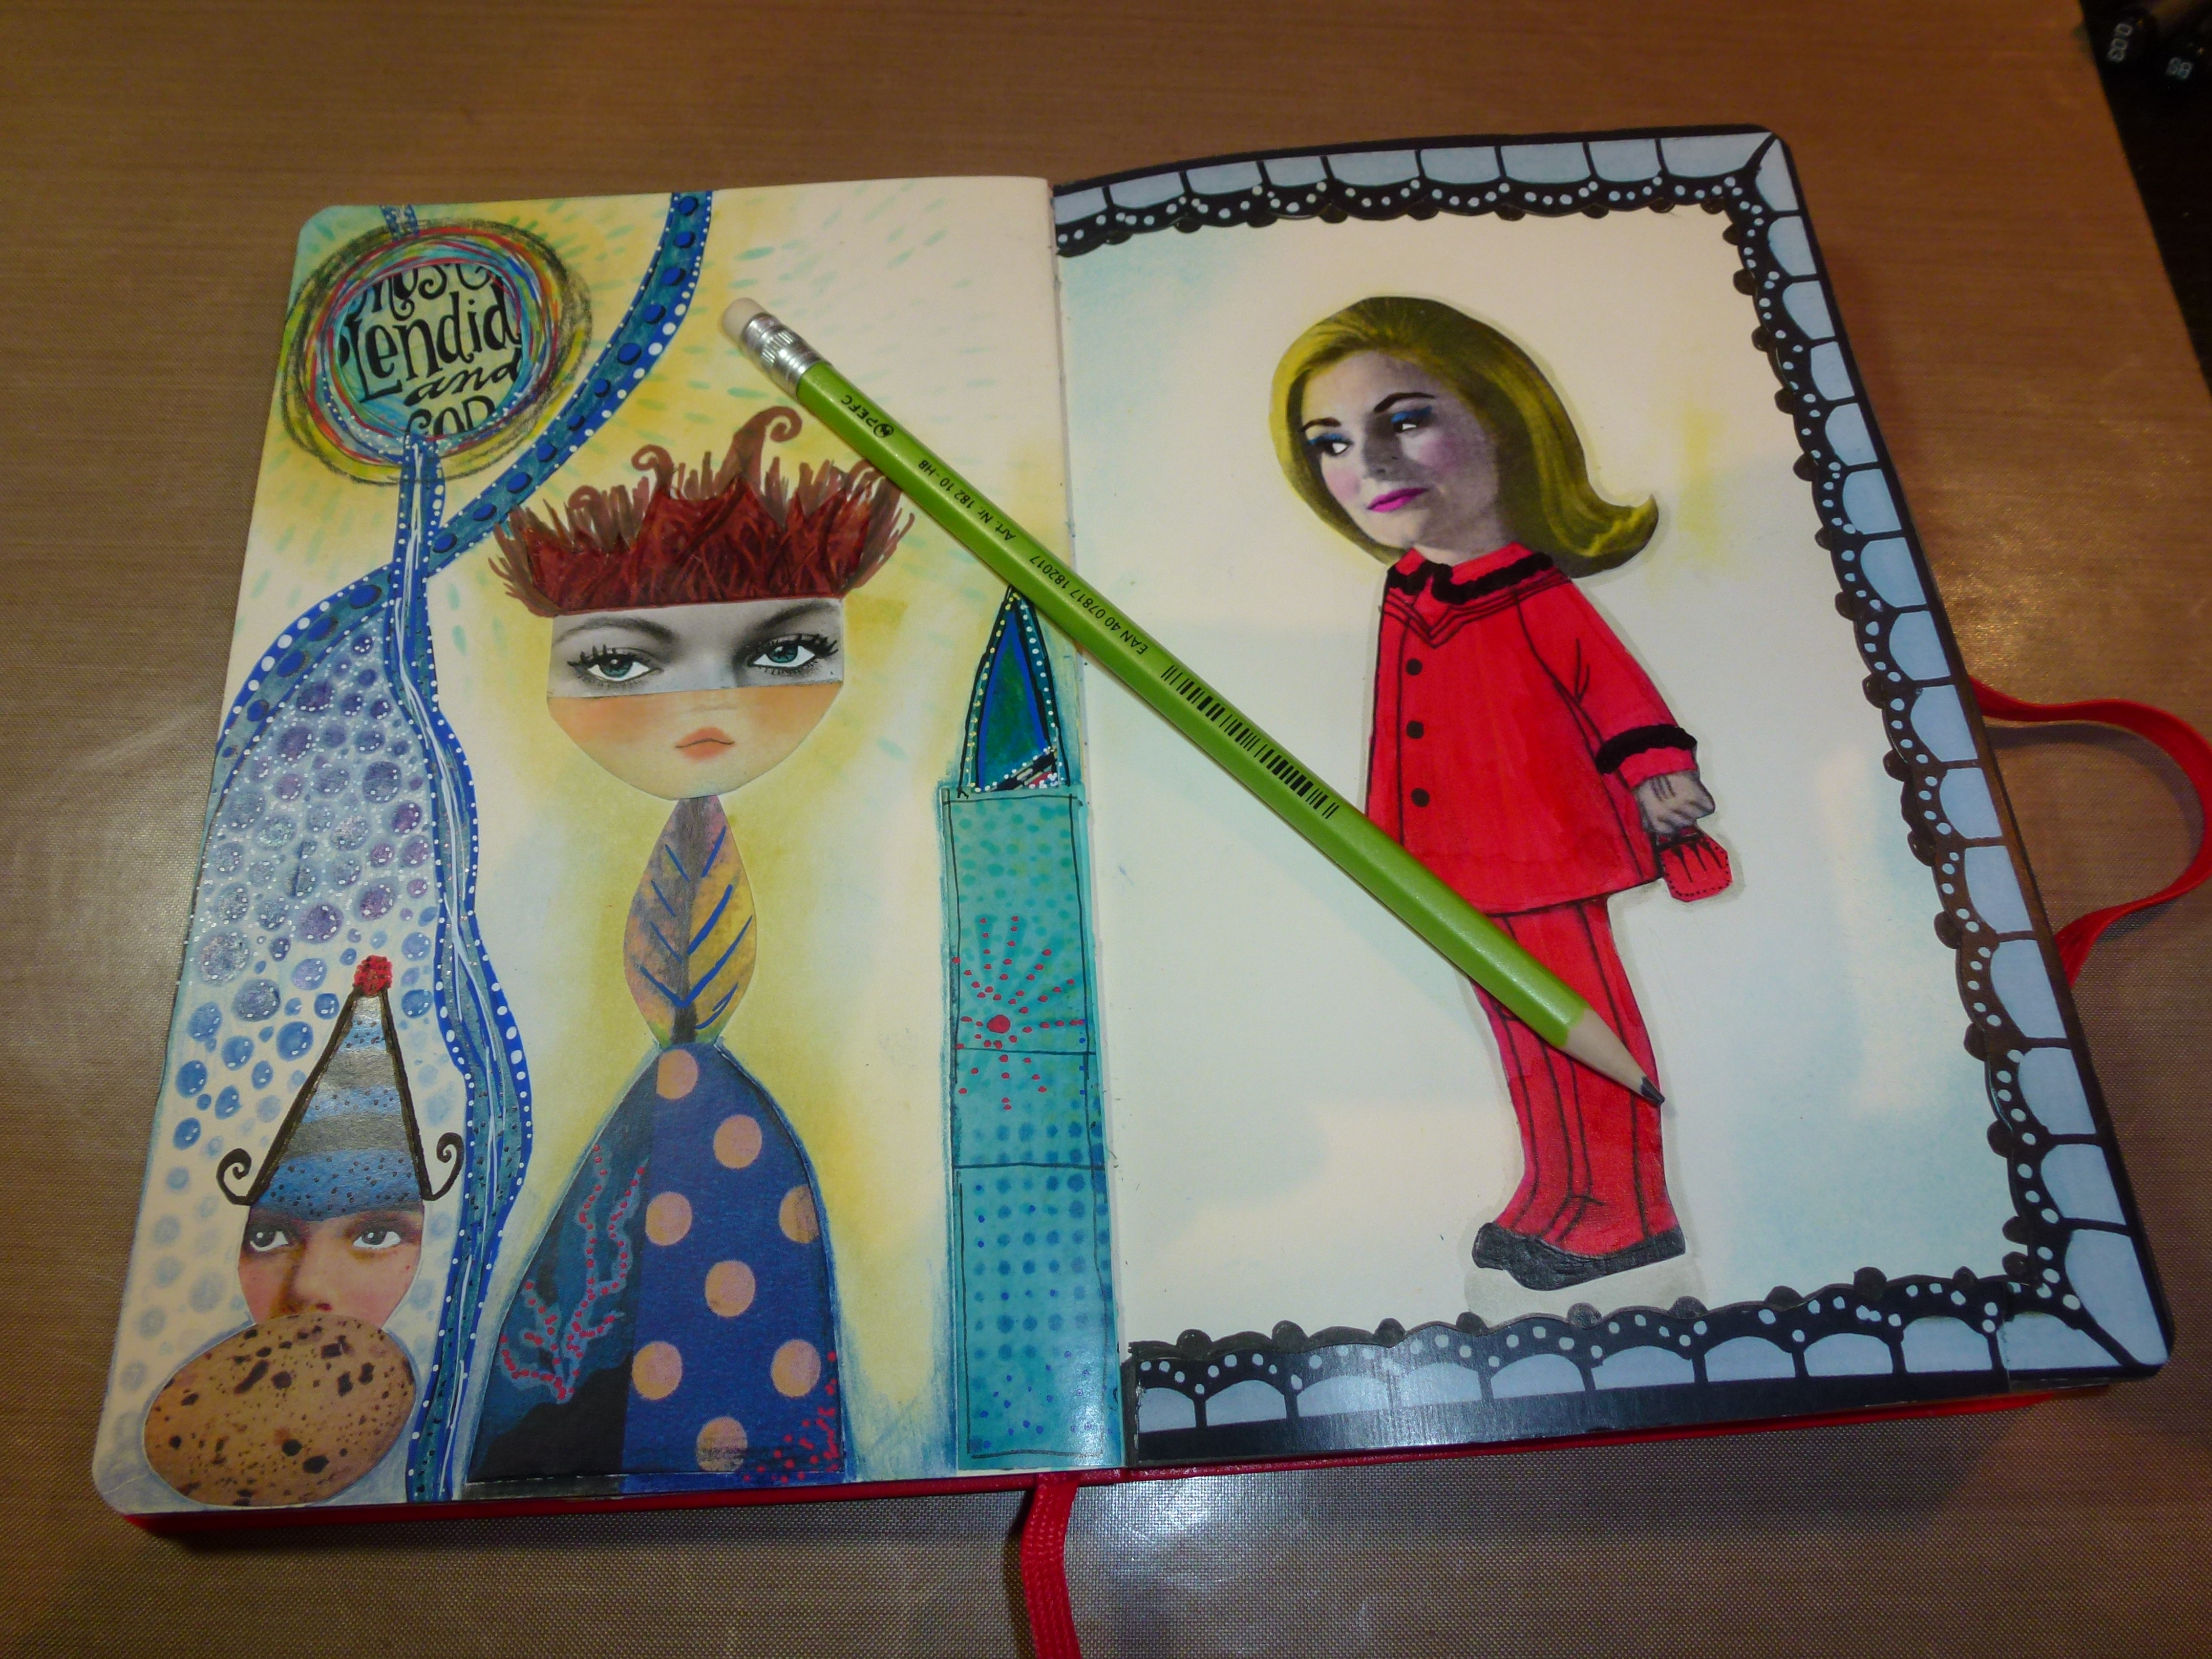
When I first heard of making your own journal my first thought was, why would anyone do that when there are soooo many to choose from at the art store? Well, I’m now a convert. The luxury of being able to choose your own paper is so fantastic! Maybe I’ve just had one too many spray inks soak through the paper and ruin a piece of my artwork on the other side, but I love that I can buy my favourite paper, cut the paper as required and have a custom journal to work in.
Here are some of my handmade art journals (still working on the art inside!):
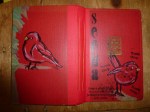
Then I took it a step further and made a bound book using a vintage book cover – not nearly as difficult as I thought it’d be, thanks to a handy little discovery known as gaffer tape.
Front cover.
Here’s how I did it… (Click on the first pic for a gallery to appear.)
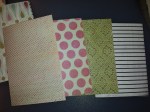
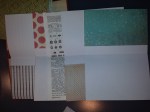
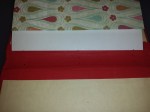
Pick your paper. For this journal I used 12×12 scrapbook paper.
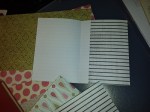
Cut paper in 4 x 12 lengths.
Fold paper at the 4.5 and 9 inch marks.
Organize into two signatures (2 nests of paper). One signature is pictured here.
Gently remove book pages from cover and reinforce spine with gaffer tape. (Inside cover.)
(Outside cover.)
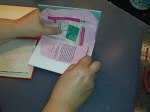
Bundle one signature together. Use an awl to poke 3 holes.
Sew the papers together and repeat for the 2nd signature using a tapestry needle and book binding thread or dental floss.
Poke holes in spine that line up with holes in signatures.
Sew signatures to spine.
I added a tag before I tied off the string.
Here’s what it looks like on the outside with one signature sewn in.
And with the second signature sewn.
Isn’t that cool?!
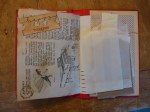
Embellish away! Here’s the inside front cover.
I added a ‘pocket.’
Used a vintage dictionary page. (Those are extra ‘pockets’ on the right to add in as needed.)
More stamping.
Even used deli paper as a page.
On the left is a Trader Joe’s chocolate bar wrapper I thought was cute.
Full cover.
Front cover.
I plan on uploading a video tutorial soon. It may be a little easier to see this in action! I’d LOVE to see a handmade journal you’ve created!