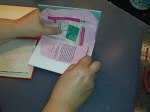
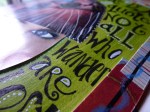
It’s such a treat to receive snail mail these days. Not bills, but other more personal missives. Look at this package I received from Teesha Moore’s Etsy shop:
Seeing all that pretty washi tape peeking out of my mailbox filled me with happiness. So lovely! Inside were art journalling magazines featuring lots of Teesha’s art, some collage sheets and a set of Teesha’s discontinued rubber stamps.
And even a little surprise:
Teesha Moore has a brand new website. I absolutely love her art and have a feeling you will too, if you haven’t discovered her already!
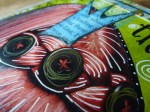
I’ve started another art journal – a 5×8 Moleskine Sketchbook. I LOVE the thicker paper! No issues with using a wet brush on the Inktense pencils. It’s a smaller size than my normal 8×10 handmade journal. It’s a little easier to fill the page, but now there’s waaay more pages to fill! I’ve got a few pages in the works, but here’s one I just finished and wanted to share. I really like how the Pan Pastels soften everything. And that frog is just so dapper, don’t you think?
Click HERE for a list of the supplies I used to create this project!
When I first heard of making your own journal my first thought was, why would anyone do that when there are soooo many to choose from at the art store? Well, I’m now a convert. The luxury of being able to choose your own paper is so fantastic! Maybe I’ve just had one too many spray inks soak through the paper and ruin a piece of my artwork on the other side, but I love that I can buy my favourite paper, cut the paper as required and have a custom journal to work in.
Here are some of my handmade art journals (still working on the art inside!):
Then I took it a step further and made a bound book using a vintage book cover – not nearly as difficult as I thought it’d be, thanks to a handy little discovery known as gaffer tape.
Front cover.
Here’s how I did it… (Click on the first pic for a gallery to appear.)
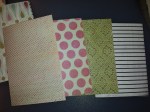
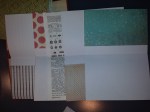
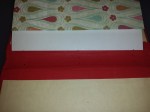
Pick your paper. For this journal I used 12×12 scrapbook paper.
Cut paper in 4 x 12 lengths.
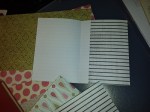
Fold paper at the 4.5 and 9 inch marks.
Organize into two signatures (2 nests of paper). One signature is pictured here.
Gently remove book pages from cover and reinforce spine with gaffer tape. (Inside cover.)
(Outside cover.)
Bundle one signature together. Use an awl to poke 3 holes.
Sew the papers together and repeat for the 2nd signature using a tapestry needle and book binding thread or dental floss.
Poke holes in spine that line up with holes in signatures.
Sew signatures to spine.
I added a tag before I tied off the string.
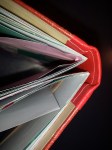
Here’s what it looks like on the outside with one signature sewn in.
And with the second signature sewn.
Isn’t that cool?!
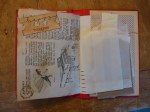
Embellish away! Here’s the inside front cover.
I added a ‘pocket.’
Used a vintage dictionary page. (Those are extra ‘pockets’ on the right to add in as needed.)
More stamping.
Even used deli paper as a page.
On the left is a Trader Joe’s chocolate bar wrapper I thought was cute.
Full cover.
Front cover.
I plan on uploading a video tutorial soon. It may be a little easier to see this in action! I’d LOVE to see a handmade journal you’ve created!
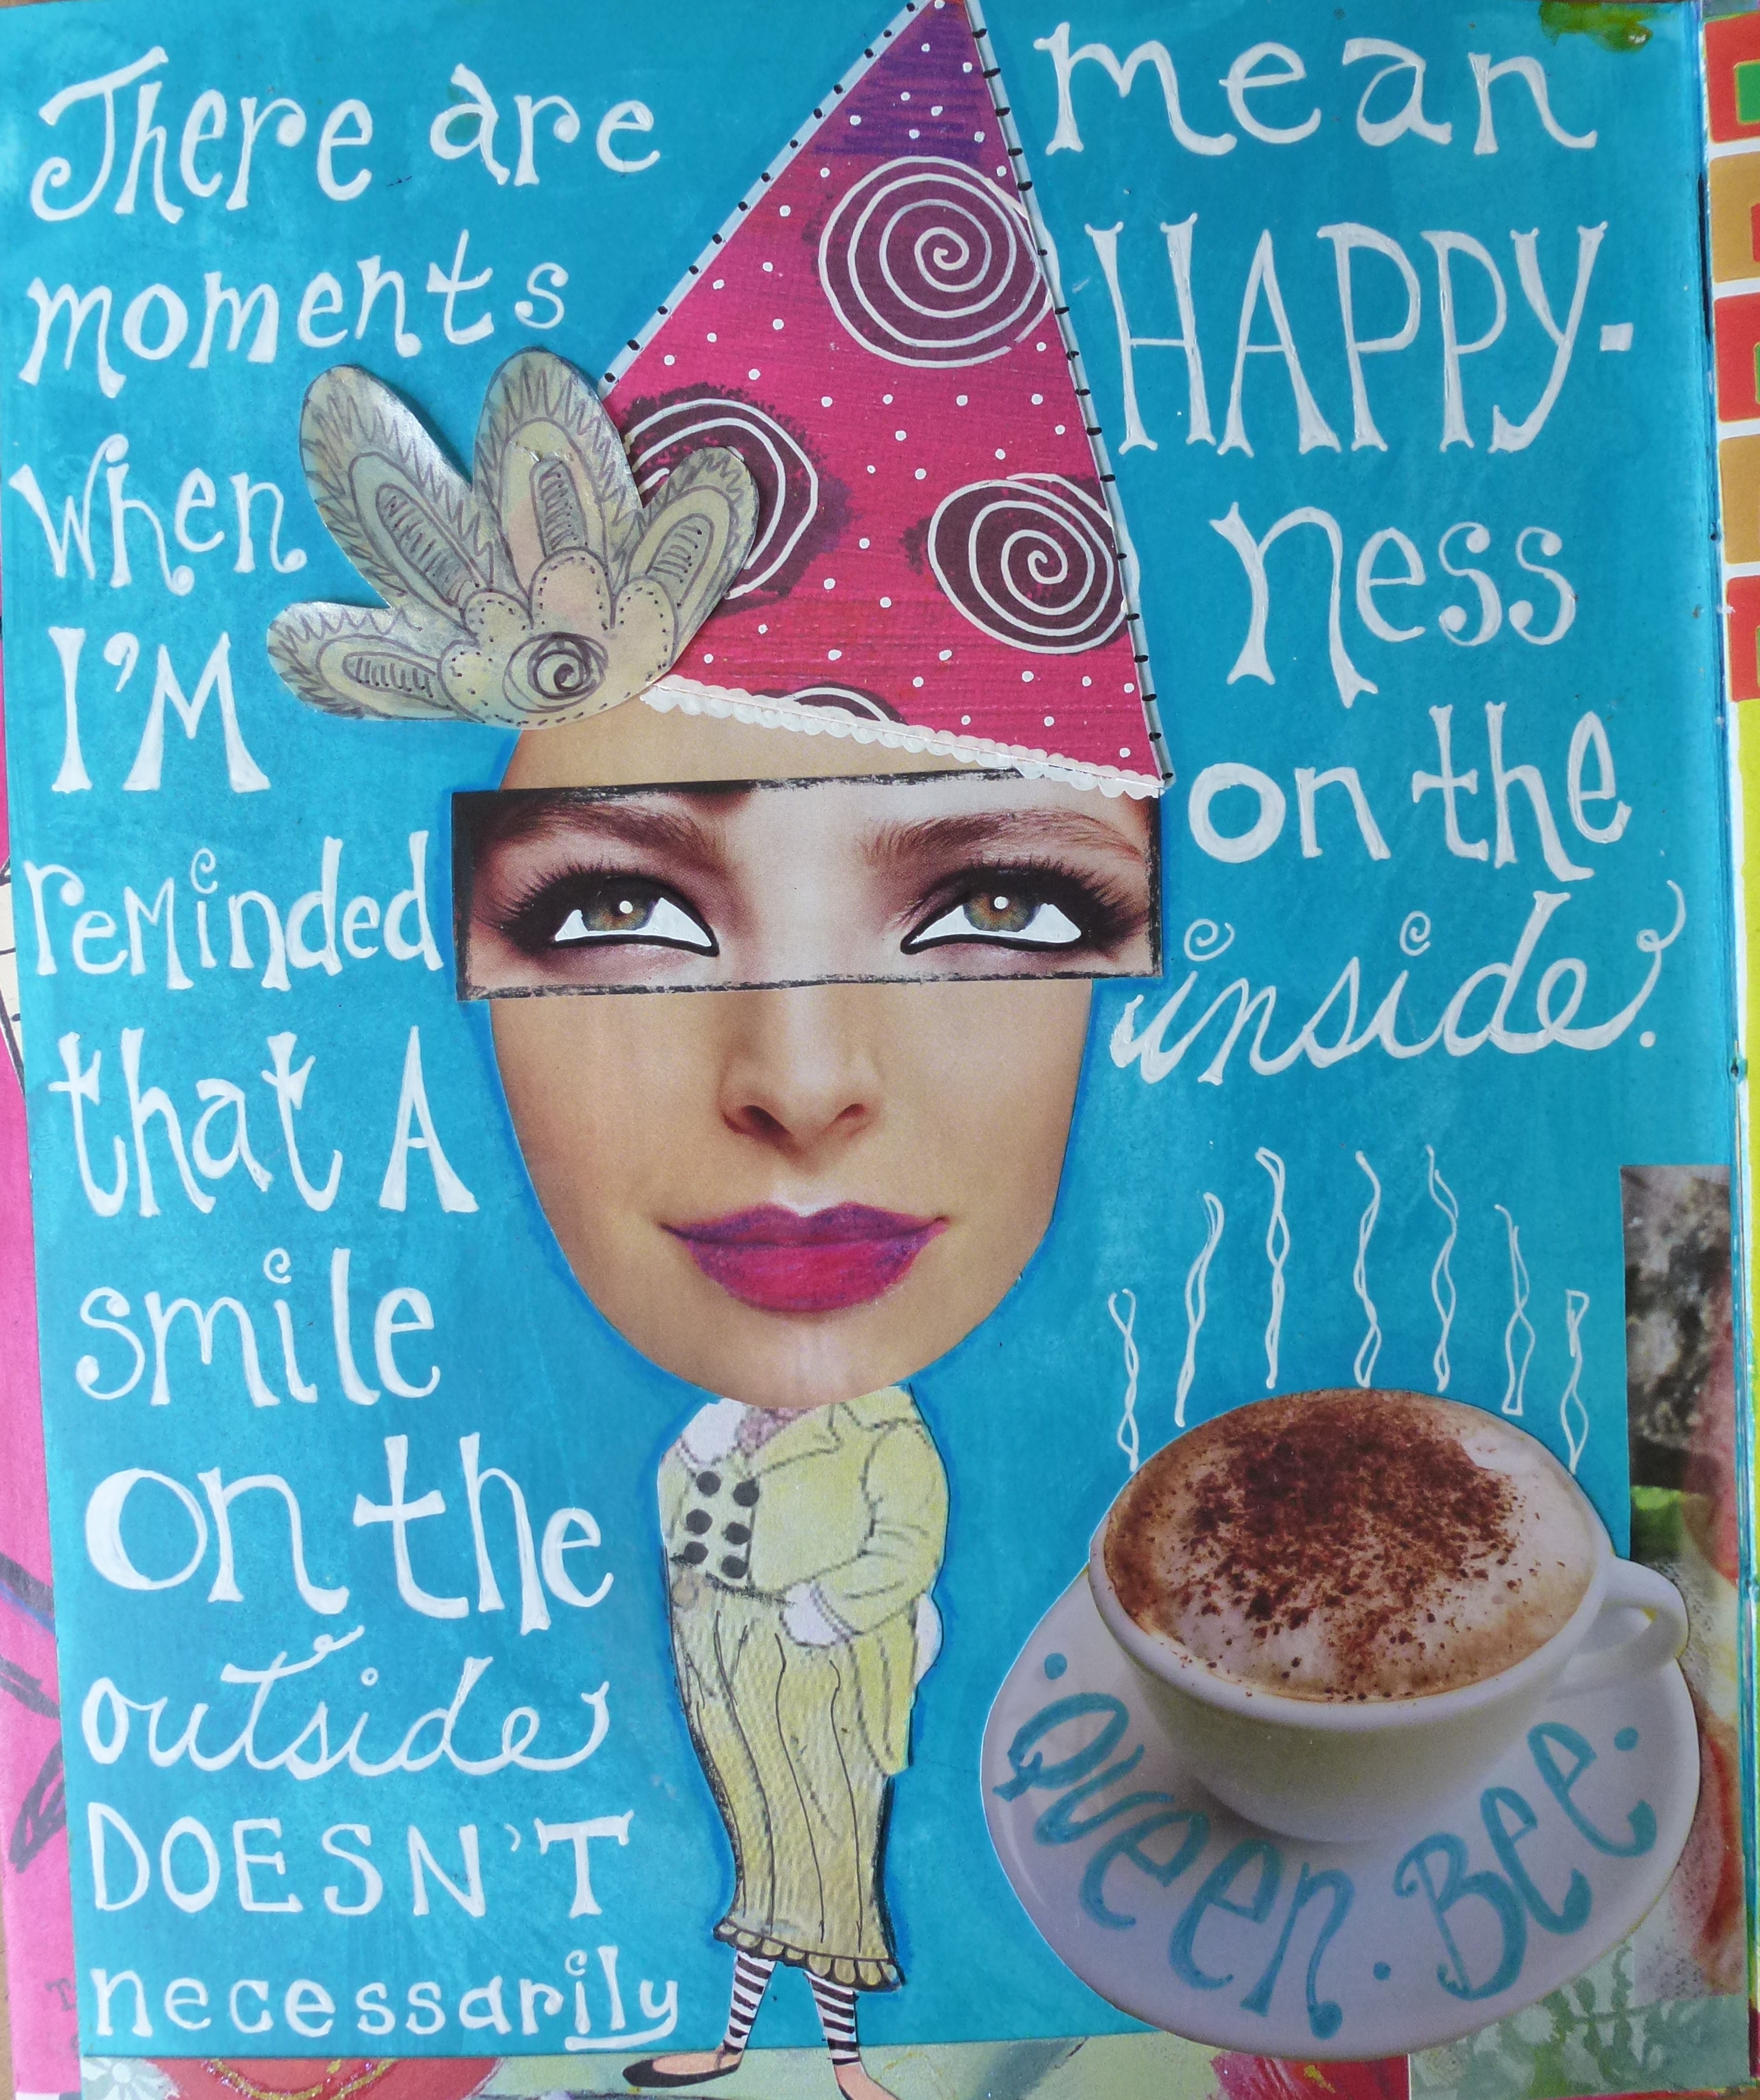
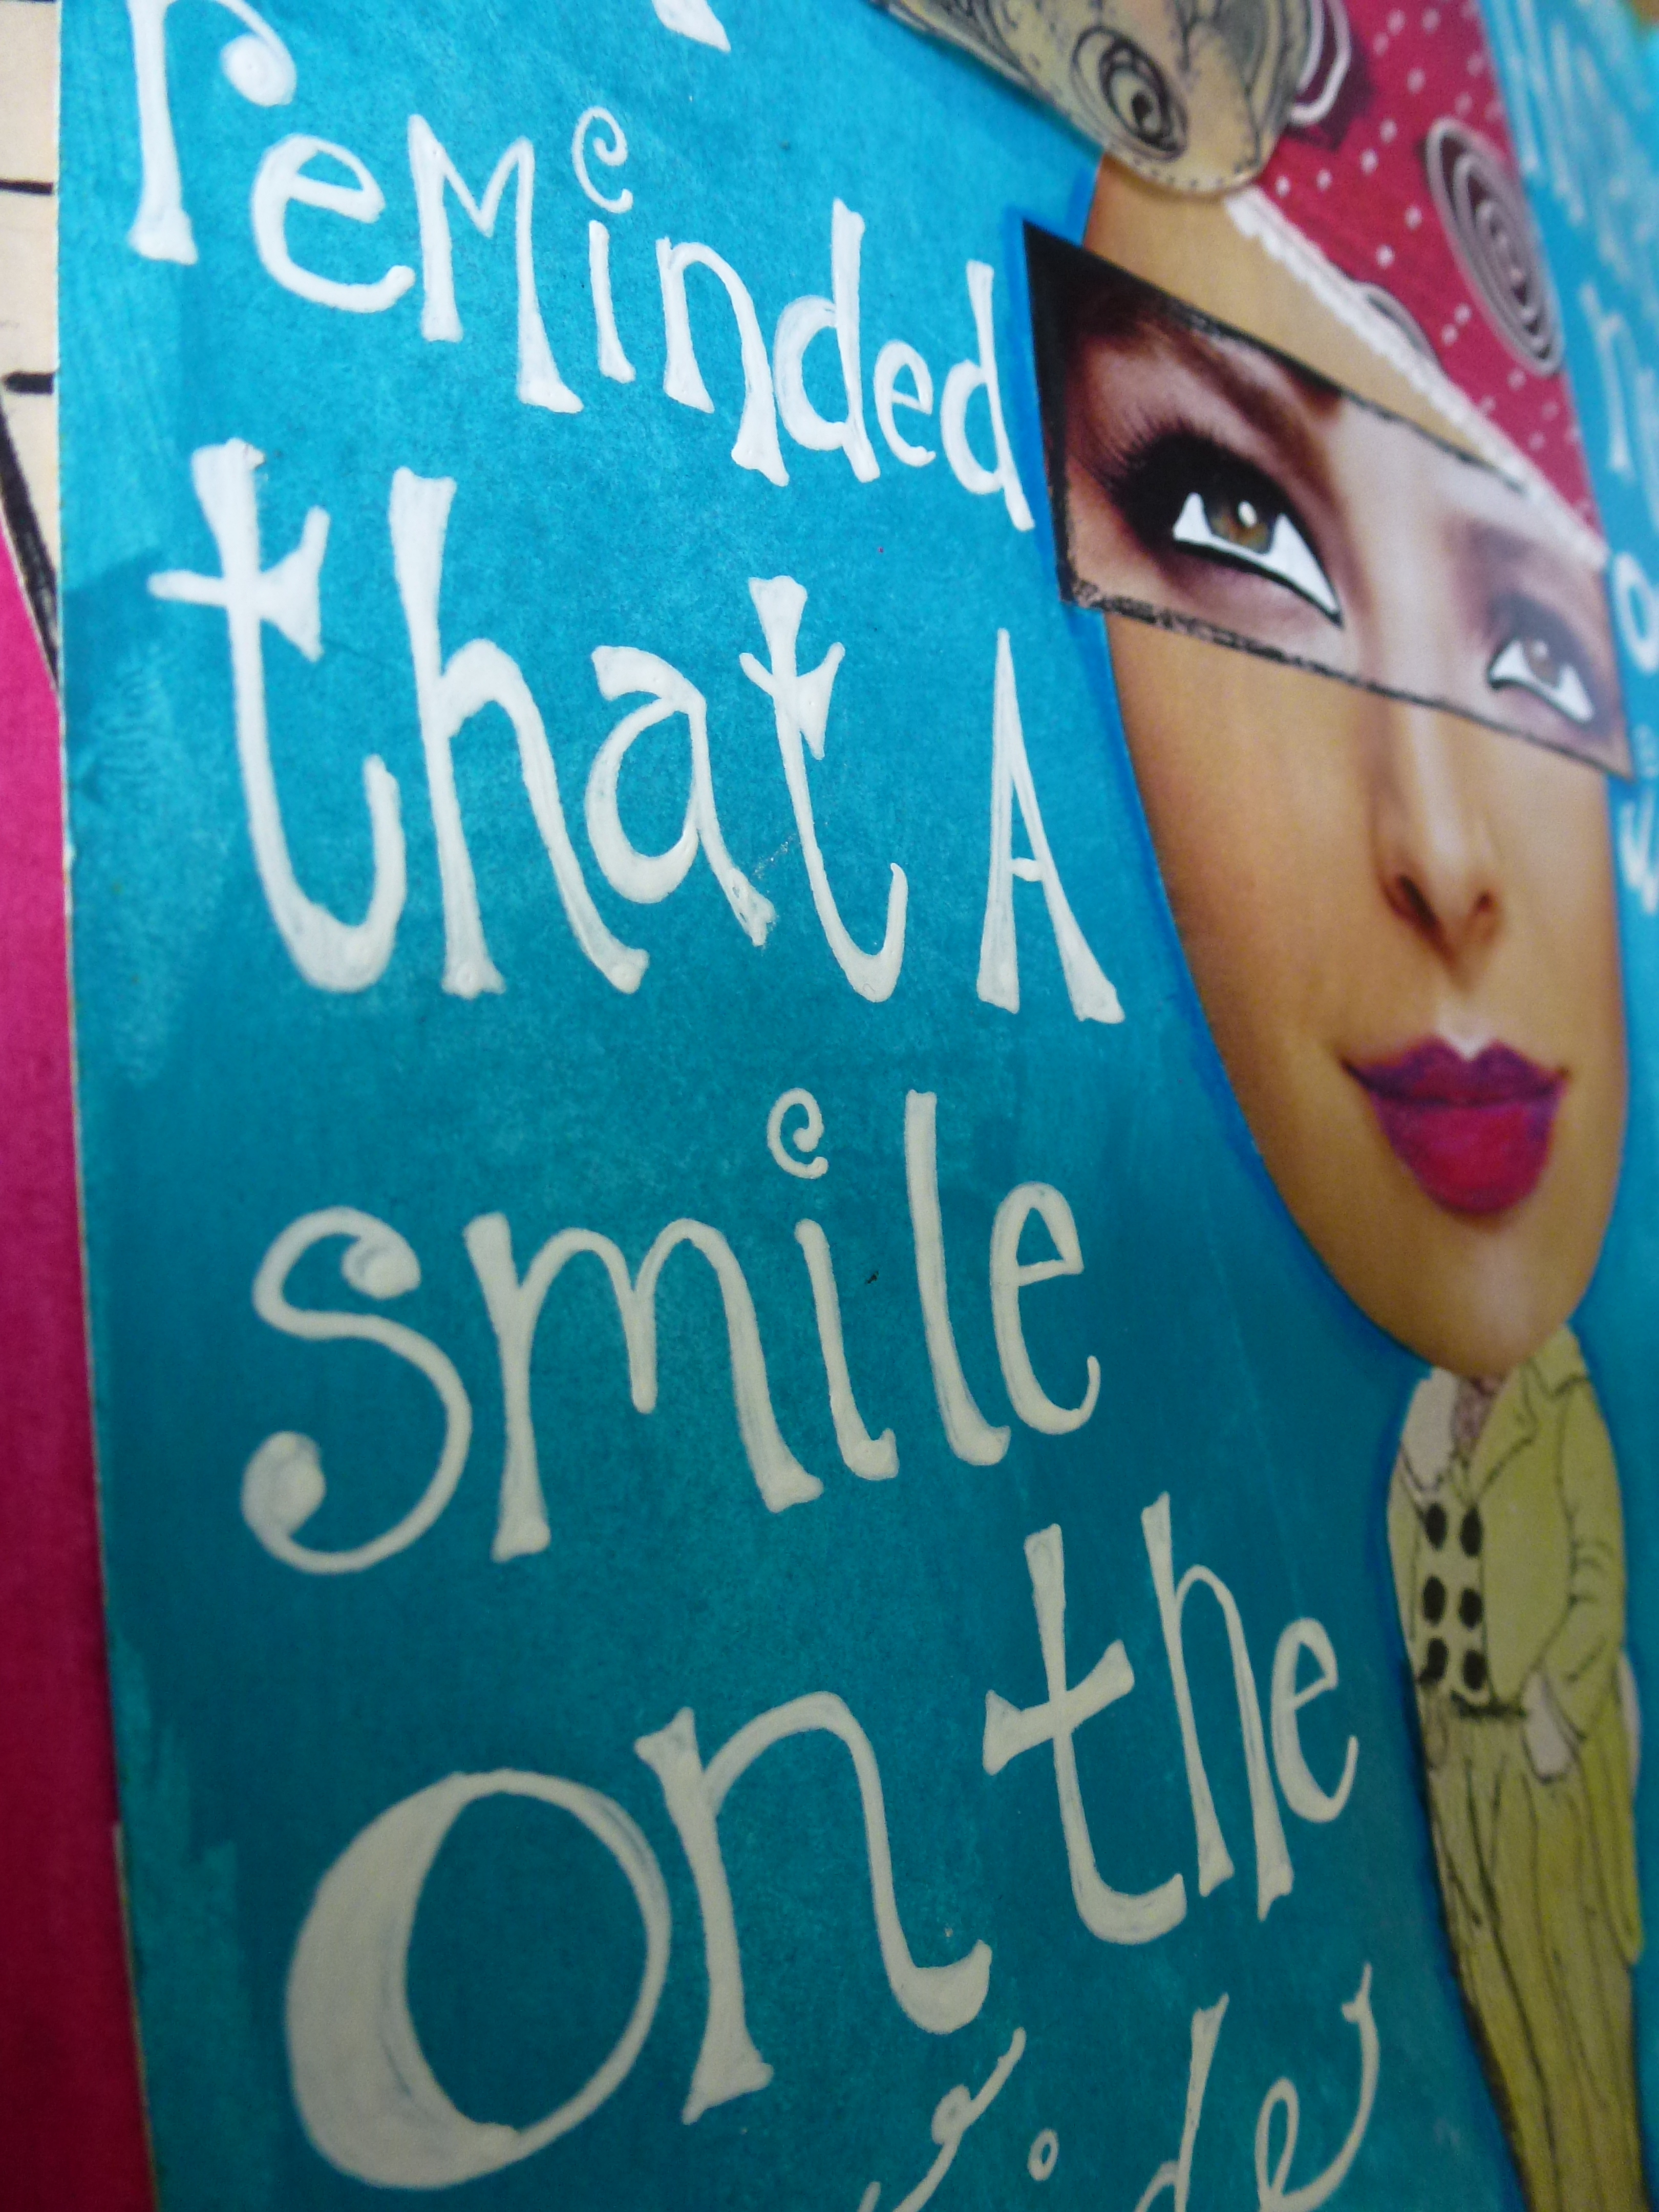
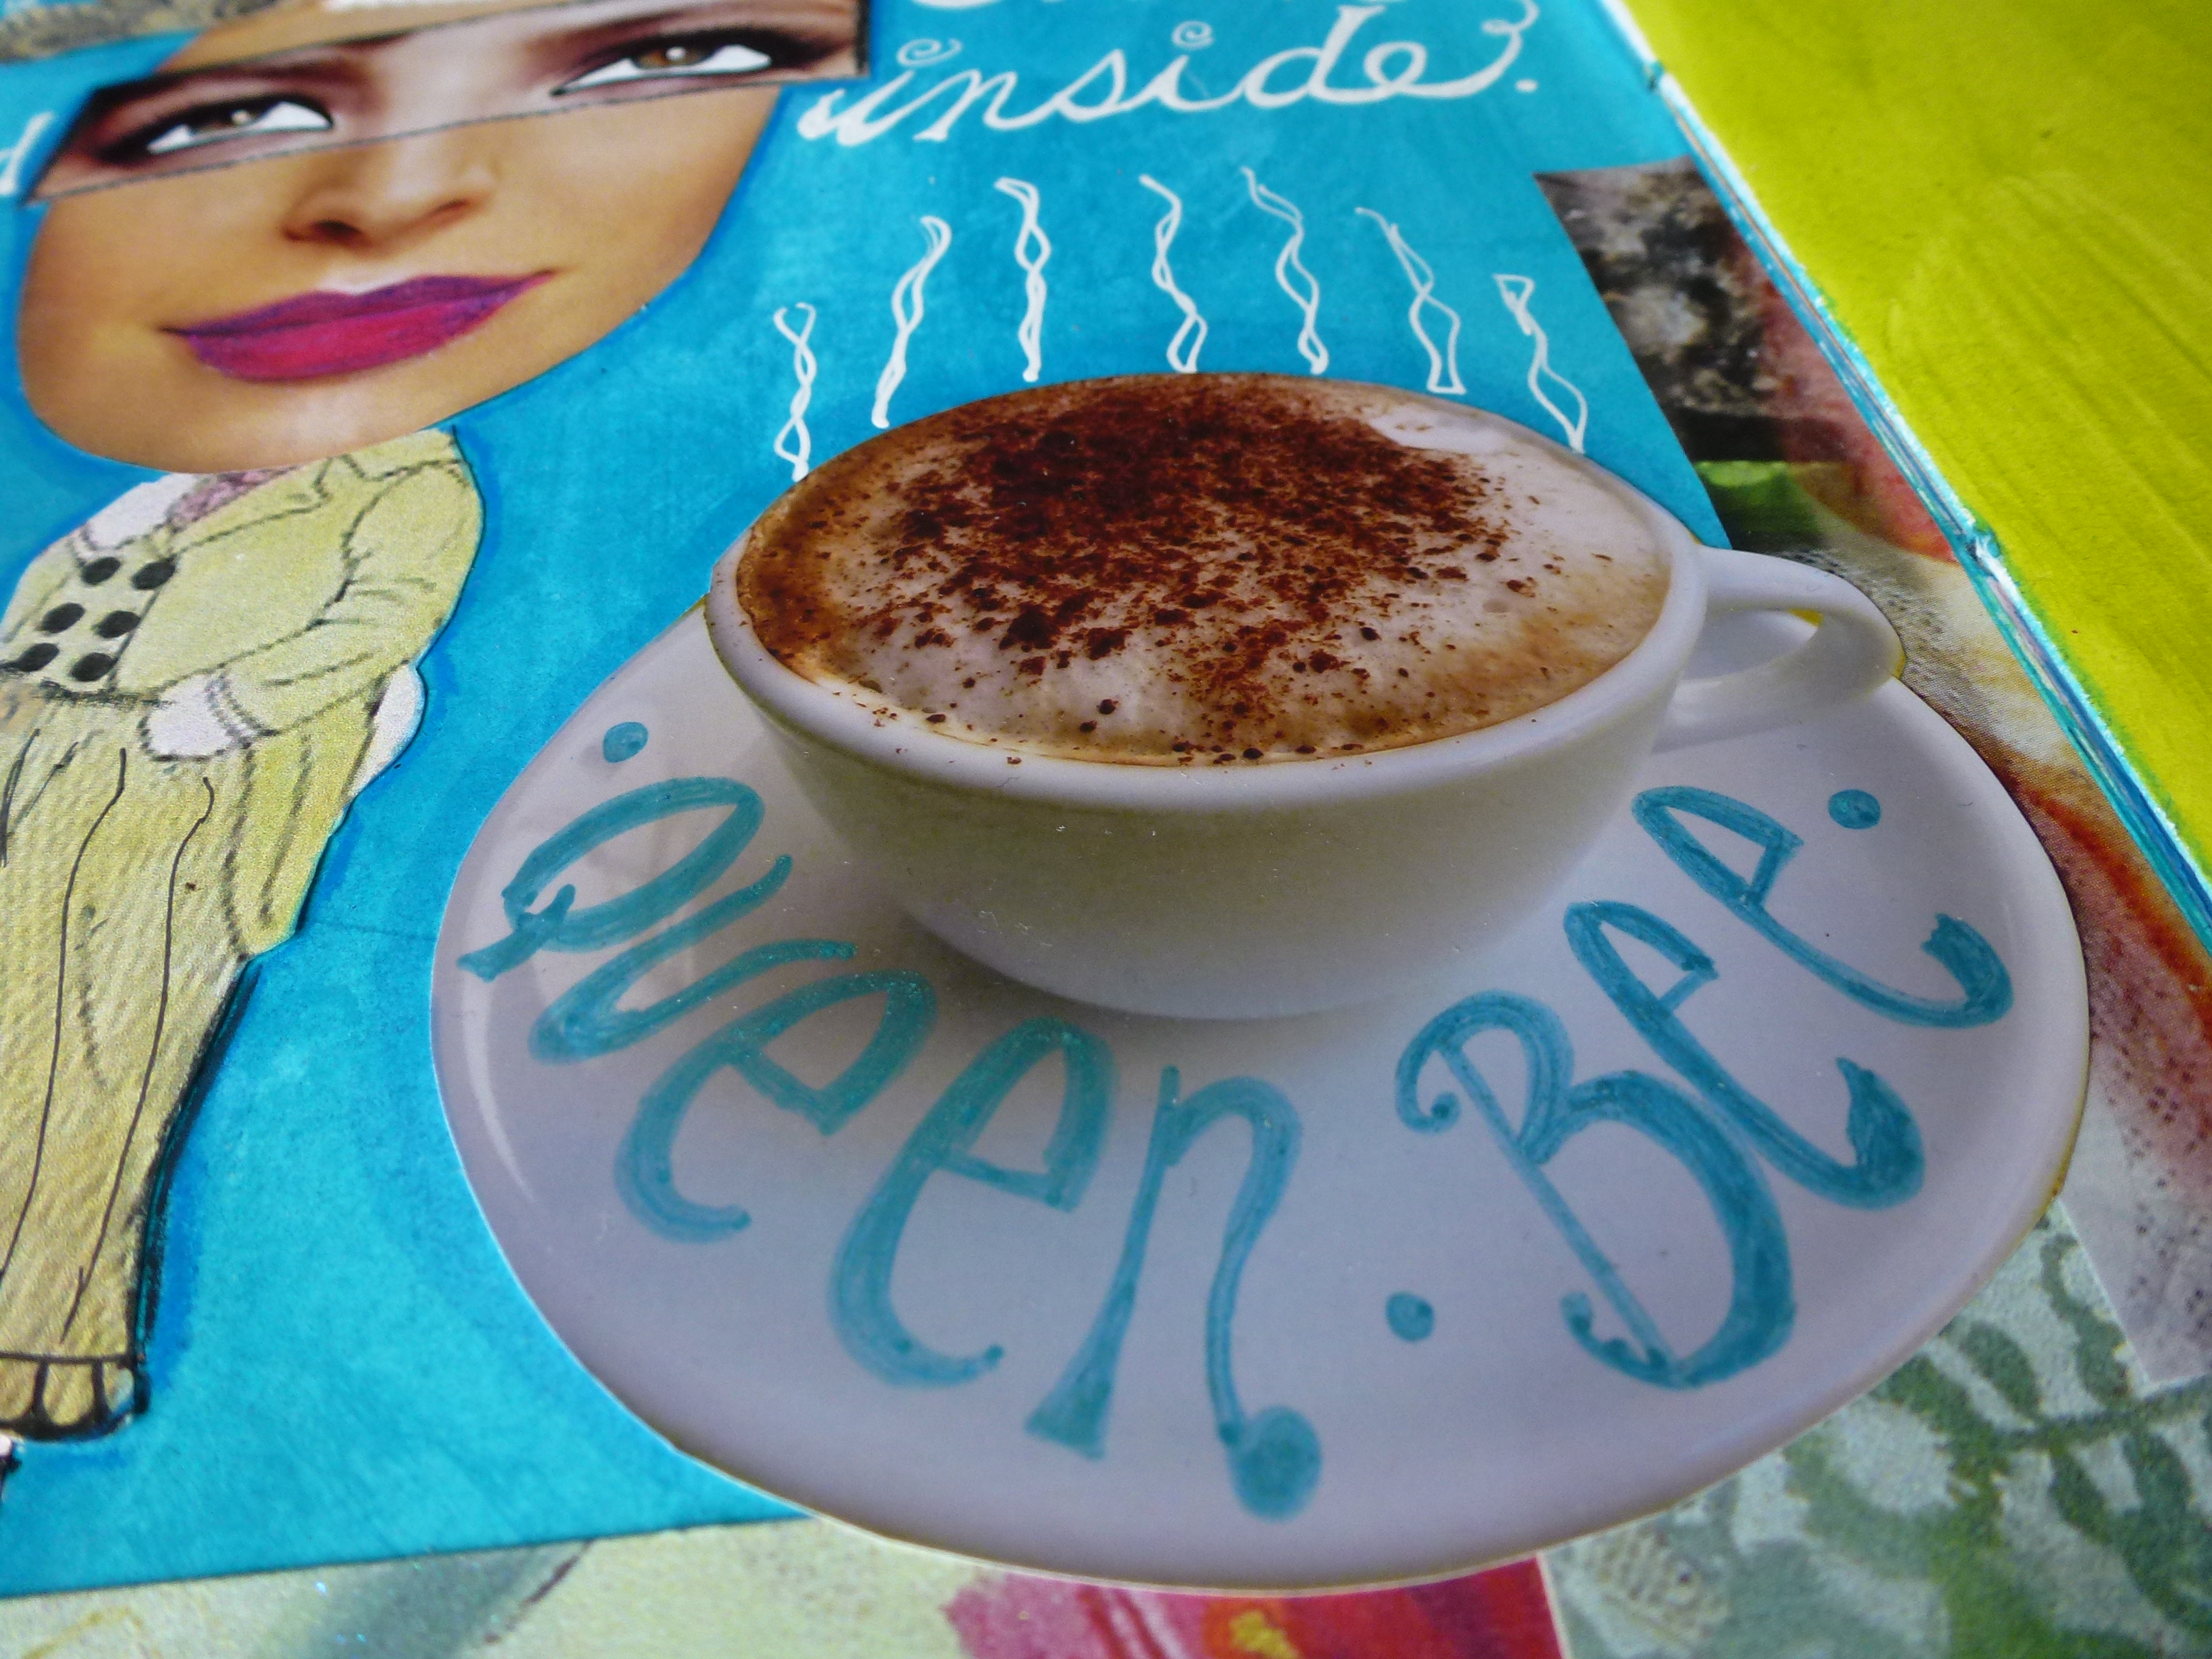
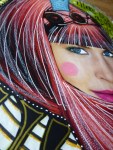
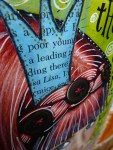
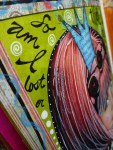
This page has been staring at me for a while, unfinished. I kept thinking I needed to add something to all that blue space, but every time I sat down to do it something stopped me. I finally realized that I liked the page just the way it was. I was itching to add some hand lettering when it was “finished” the collage, but no sooner did I put signo pen to paper then out popped the sentiment below. I do realize happiness isn’t spelled with a “y,” but took some artistic license before the hyphen. My journal page, my rules! I may go in and add some shadowing to the letters, but I’ll see how I feel. By the by, that picture of the coffee is one I took of my actual cappuccino in Sorrento, Italy a couple of summers ago. Doesn’t it look delicious?
Do you ever feel like being creative, but are too tired or wired to start from scratch? Then you force yourself and you end up hating what you’ve done? The flow just isn’t there? I like to be prepared for those moments, because I hate hating my creations. There are no mistakes in art I keep telling my daughter, but tired and wired (at least for me) only strengthens my inner critic.
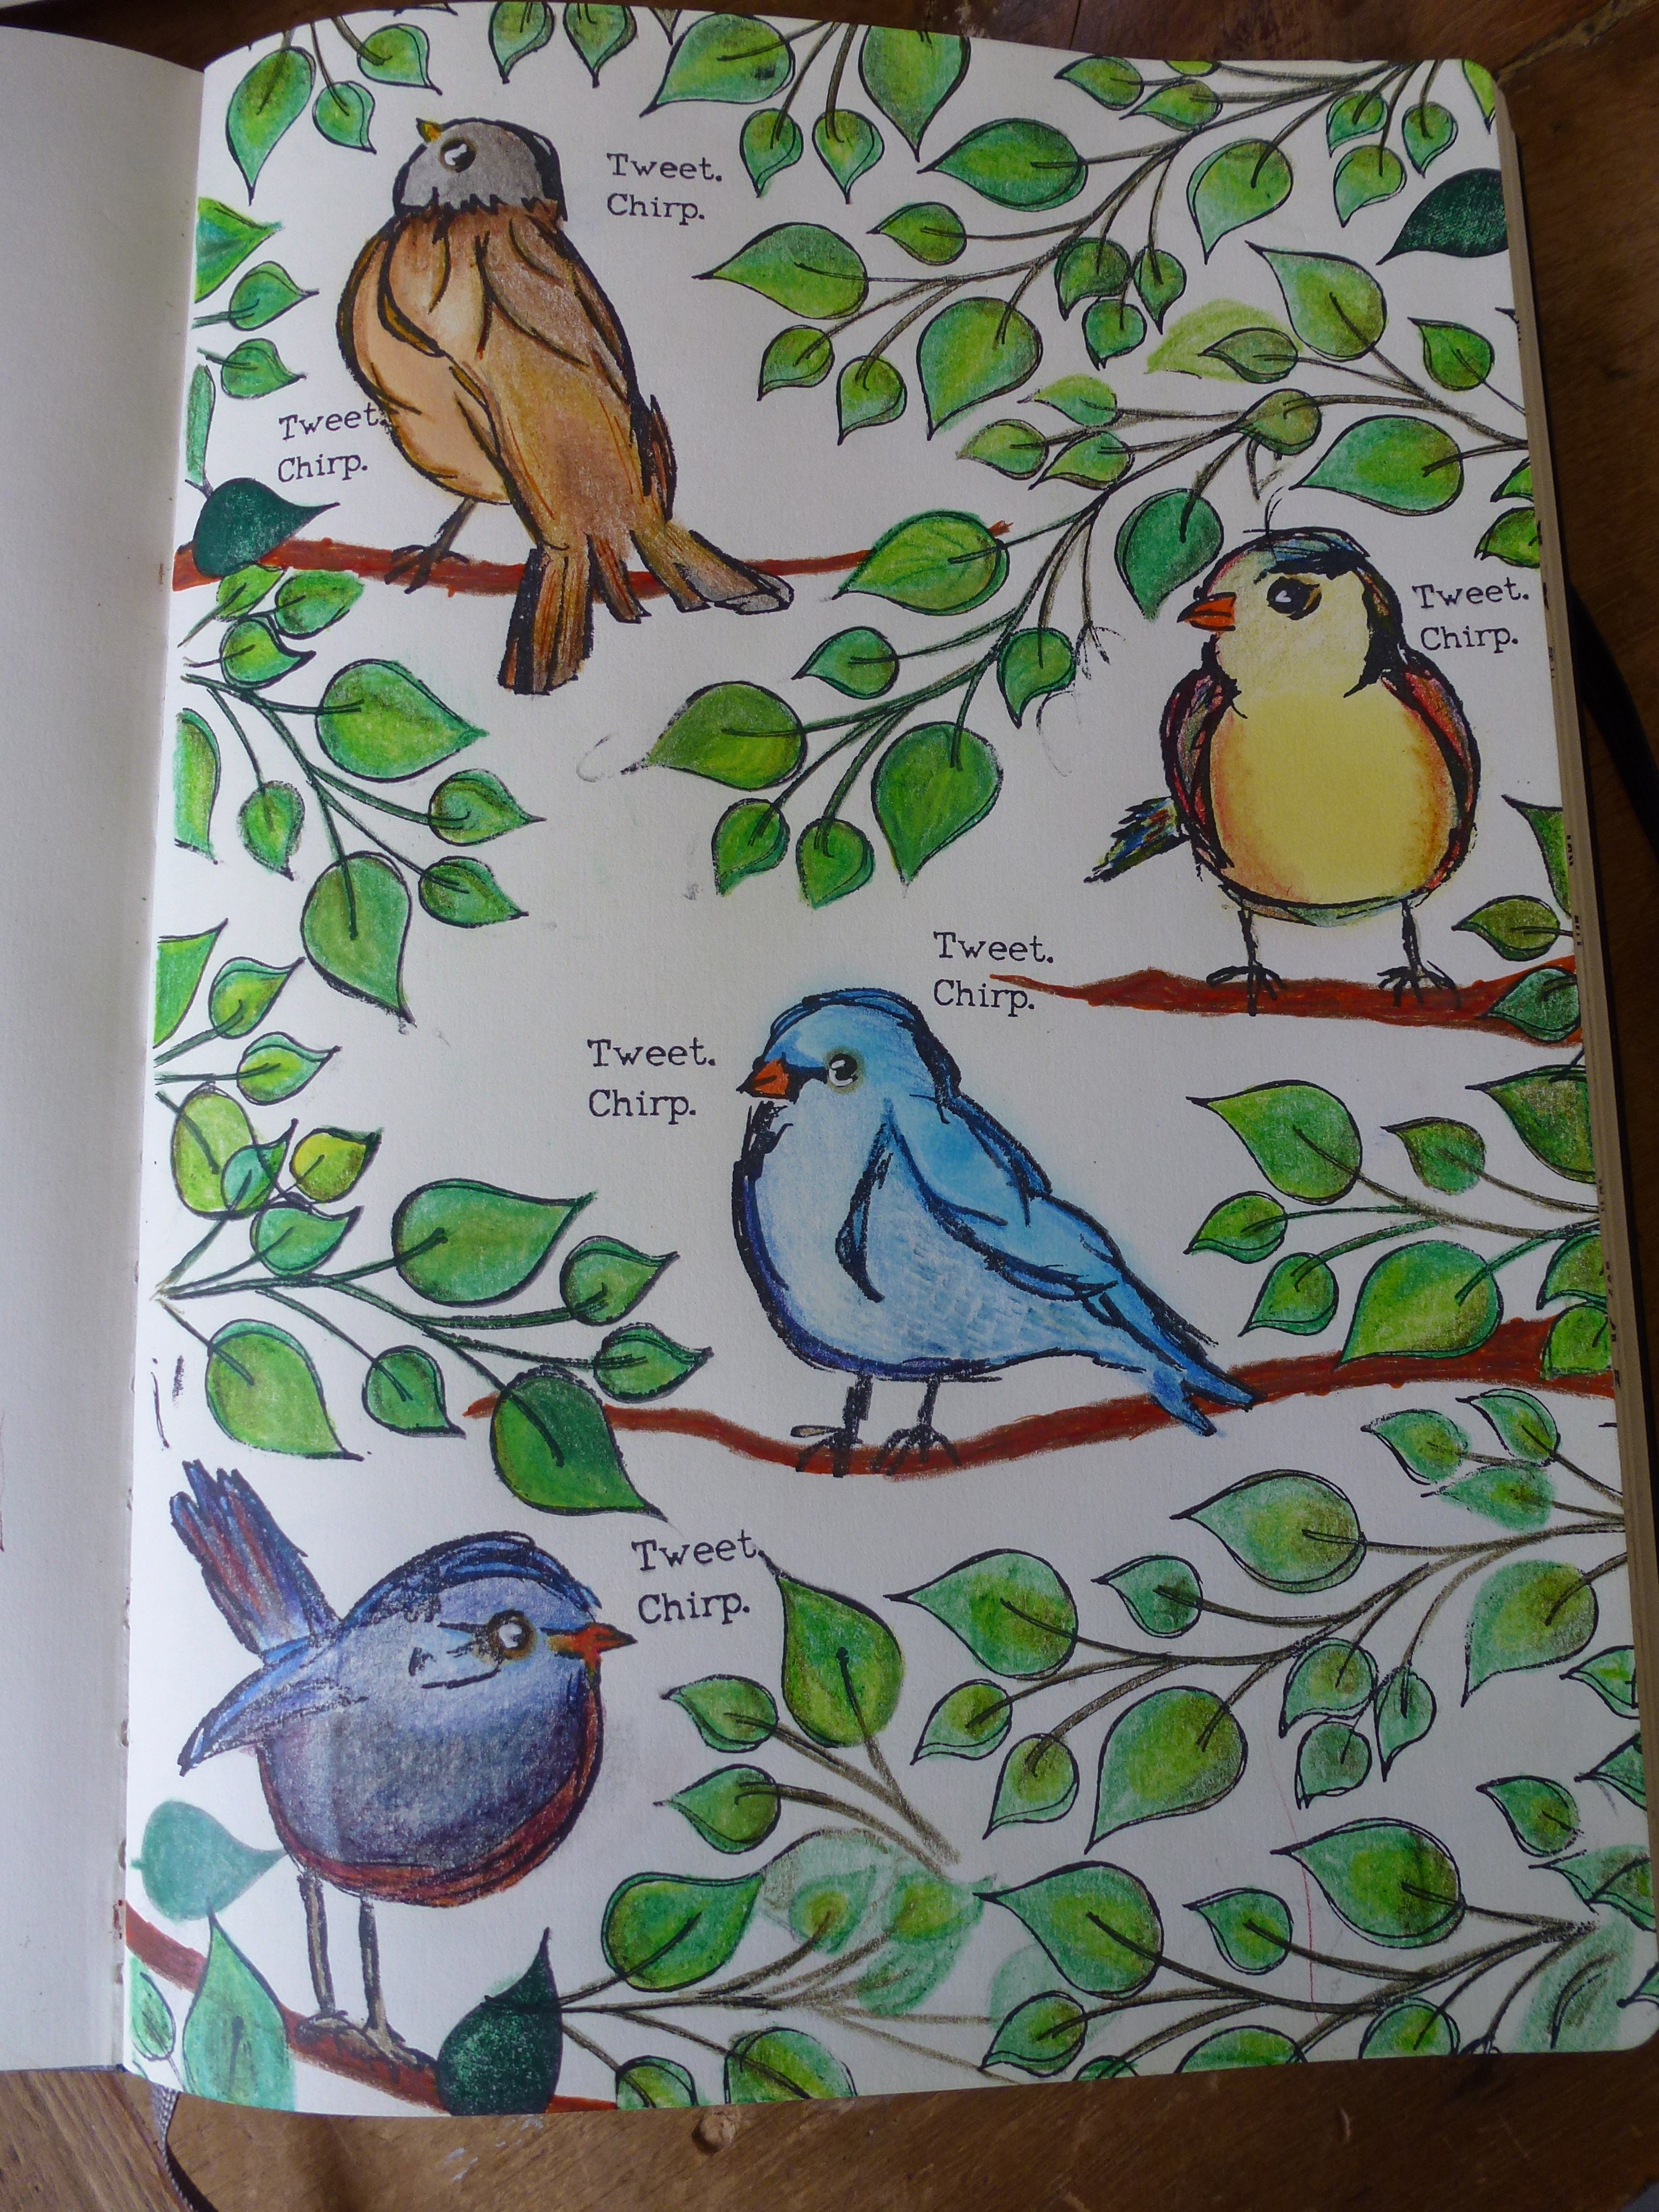
When I sit at my art desk and am not sure where to start, I like to play with stamps and create some custom artwork. Below I used Dina Wakley’s bird stamps and Dyan Reaveley’s leaf border stamps. I added branches with Golden acrylic ink in Quinacridone / Nickel Azo Gold #2301, one of my all-time favourite colours. I got a lot of oohs and ahhs as I was working on it, but I promise you it’s really quite simple to do! And man, do I love these birds!
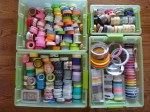
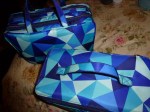
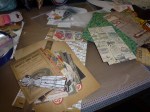
Once I got all that stamping out of my system I still had to narrow down my resources. Thankfully, I wasn’t flying so I could load up my suitcase. I like things to be organized or they get lost easily. I found matching toiletry bags which hold the basics. Then I have a large tote for notebooks and paper as well as pens organized in lots of cases!
It’s hard to get all this
to just this!
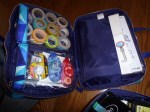
These are matching Sonja Kashuk toiletry bags I found on clearance at Target. They’re perfect!
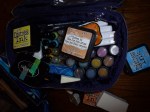
I use the lower, wider bag for all my paint, ink pads and mediums.
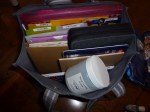
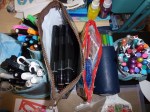
My sorted collage sheets, journals, a pencil crayon case and can you see my Caran d’ache crayons peeking out?
Paintbrushes are a must. This is actually a make up brush case, but it’s perfect for paintbrushes!
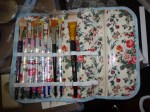
The fold out bag holds my paper, adhesives, ephemera and some precious stamp sets.
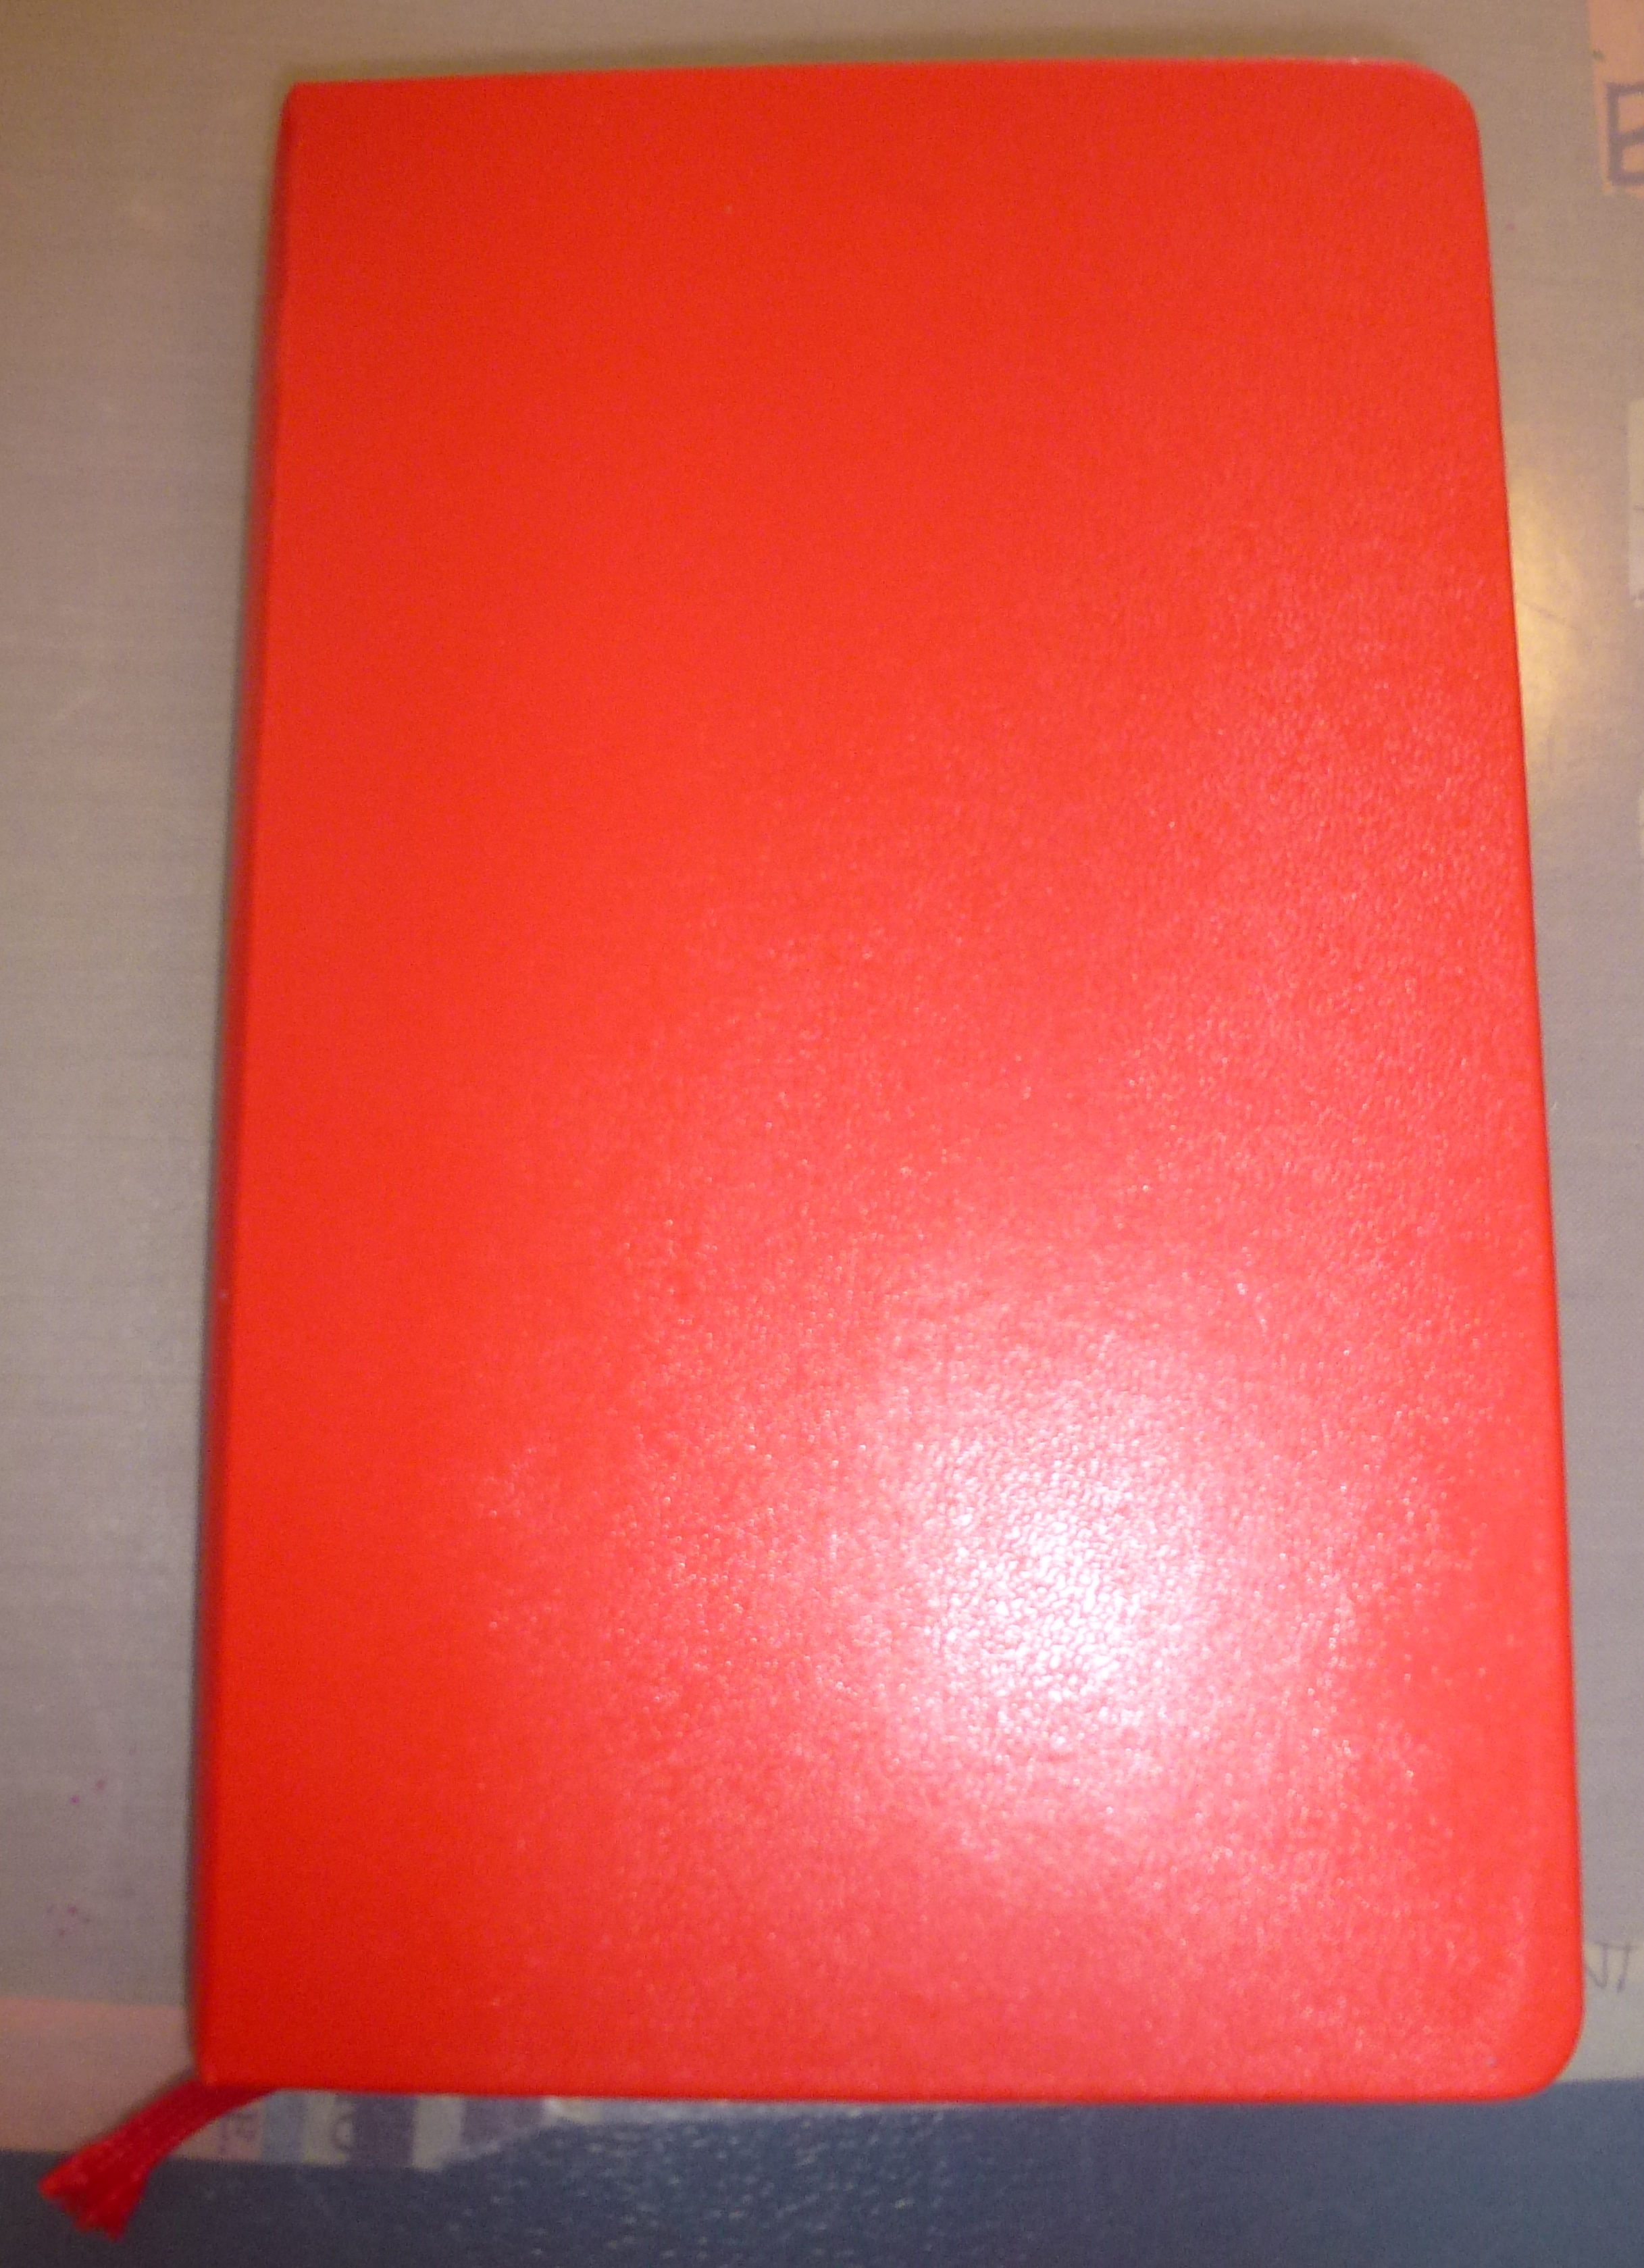
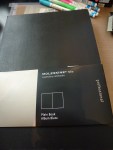
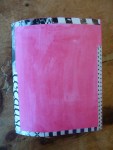
My new Moleskin. It’s big and decadent.
A homemade journal I’m working on.
Can’t leave this behind!
Nor the mini version!
What containers do you use when you are making art on the move? I’d love to know what works for you!
I’ll be away from home for a bit and, as I’m sure you can relate, I can’t go a day without making art. Being spoiled with a studio at home, how does one decide what precious resources to bring along? When inspiration strikes, the needed supplies must be at hand.
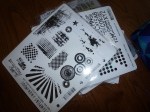
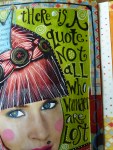
I got a new art journal (Moleskin) for 50% off on the weekend (ridiculous bargain!!) and wanted to bring it with me. Here are some (bad) photos of some images I’m laying down so I don’t have to bring every stamp with me. There are still plenty of blank pages for when none of my stamping inspires me!
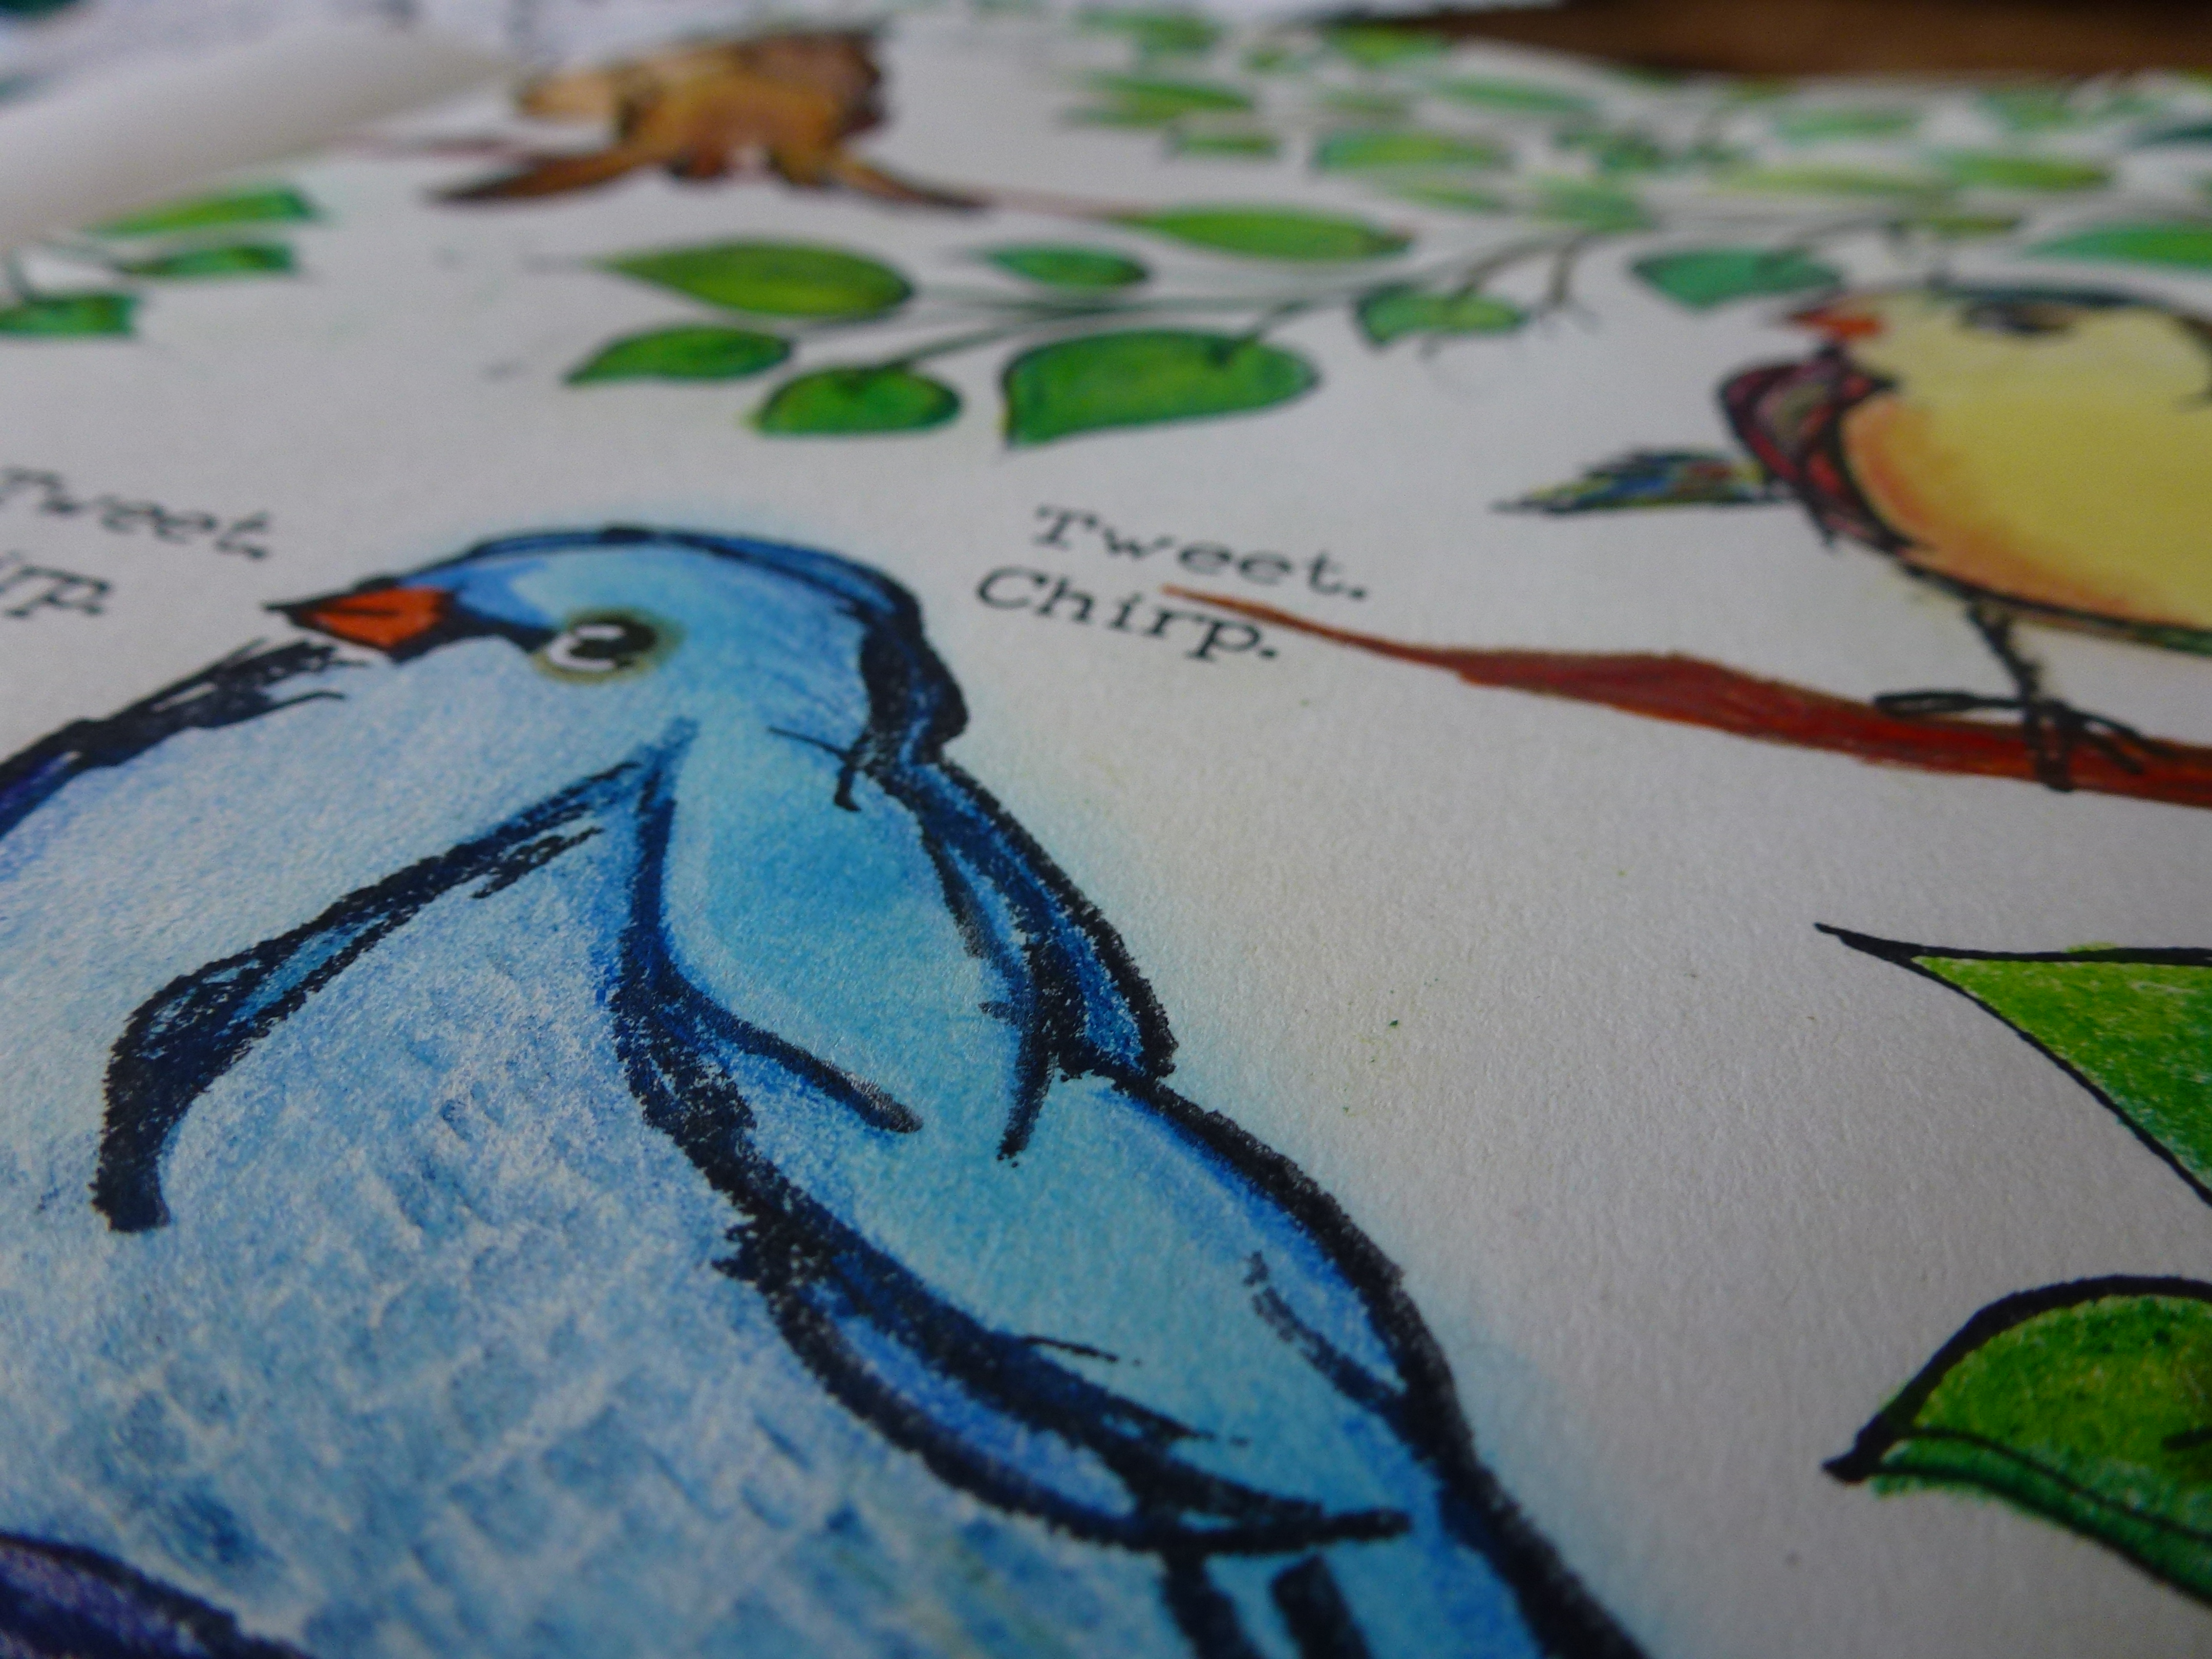
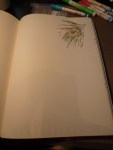
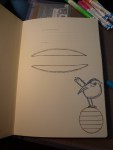
Dina Wakley’s Scribble birds stamp & Dyan Reaveley’s Further Around the Edge stamps (leaves). This is basically a grown-up colouring page for me, hurray!
Now the birds are singing. Planning to add branches under the birds.
Dyan Reaveley’s stamp.
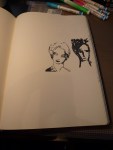
Dina Wakley’s stamps.
Dina Wakley’s stamps.
Impression Obsession stamp.
Dyan Reaveley stamp.
Dyan Reaveley stamp.
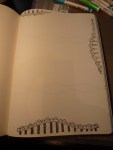
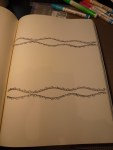
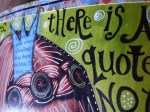
Dyan Reaveley border stamp. I’m planning to letter in-between the images.
Dyan Reaveley stamp.
Dyan Reaveley stamp.
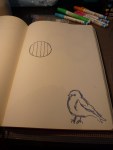
Dina Wakley ‘blue bird.’ Turn Dyan Reaveley’s journal circle on its side and now it’s a cage. Wonder what’ll end up in there?
Dina Wakley stamp.
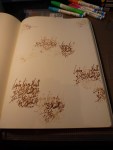
Dina Wakley stamp. It looks messy now, but this writing will fade into the background as texture by the time I’m finished.
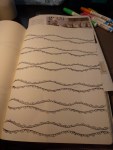
(Dyan Reaveley stamps with a scribble bird by Dina Wakley.) Now this official page looks more official.
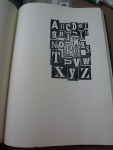
(Inkadoo stamp.) I wanted a lighter, grunge look on this page to make it more a part of the background.
(Inkadoo stamp.) I wanted it darker on this page so I can colour the letters and really make them pop off the page.
My new Moleskin. It’s big and decadent.
Check back to see how I’m packing my inks and other art supplies. How do you prep for making art when on the move? Share your tips in the comment section below!
I made my own art journal using hot press water-colour paper and it’s wonderful to work in. The video tutorial, by the wonderful Teesha Moore, is on my Youtube channel. I find that higher quality acrylic paints (Golden, Tri-Art) are easier to write on because my pens don’t get caked up in paint so they write fluidly on the acrylic background. I’d love it if you’d leave me a comment and let me know what you think.
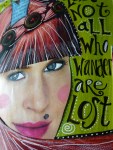
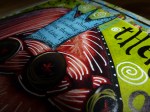
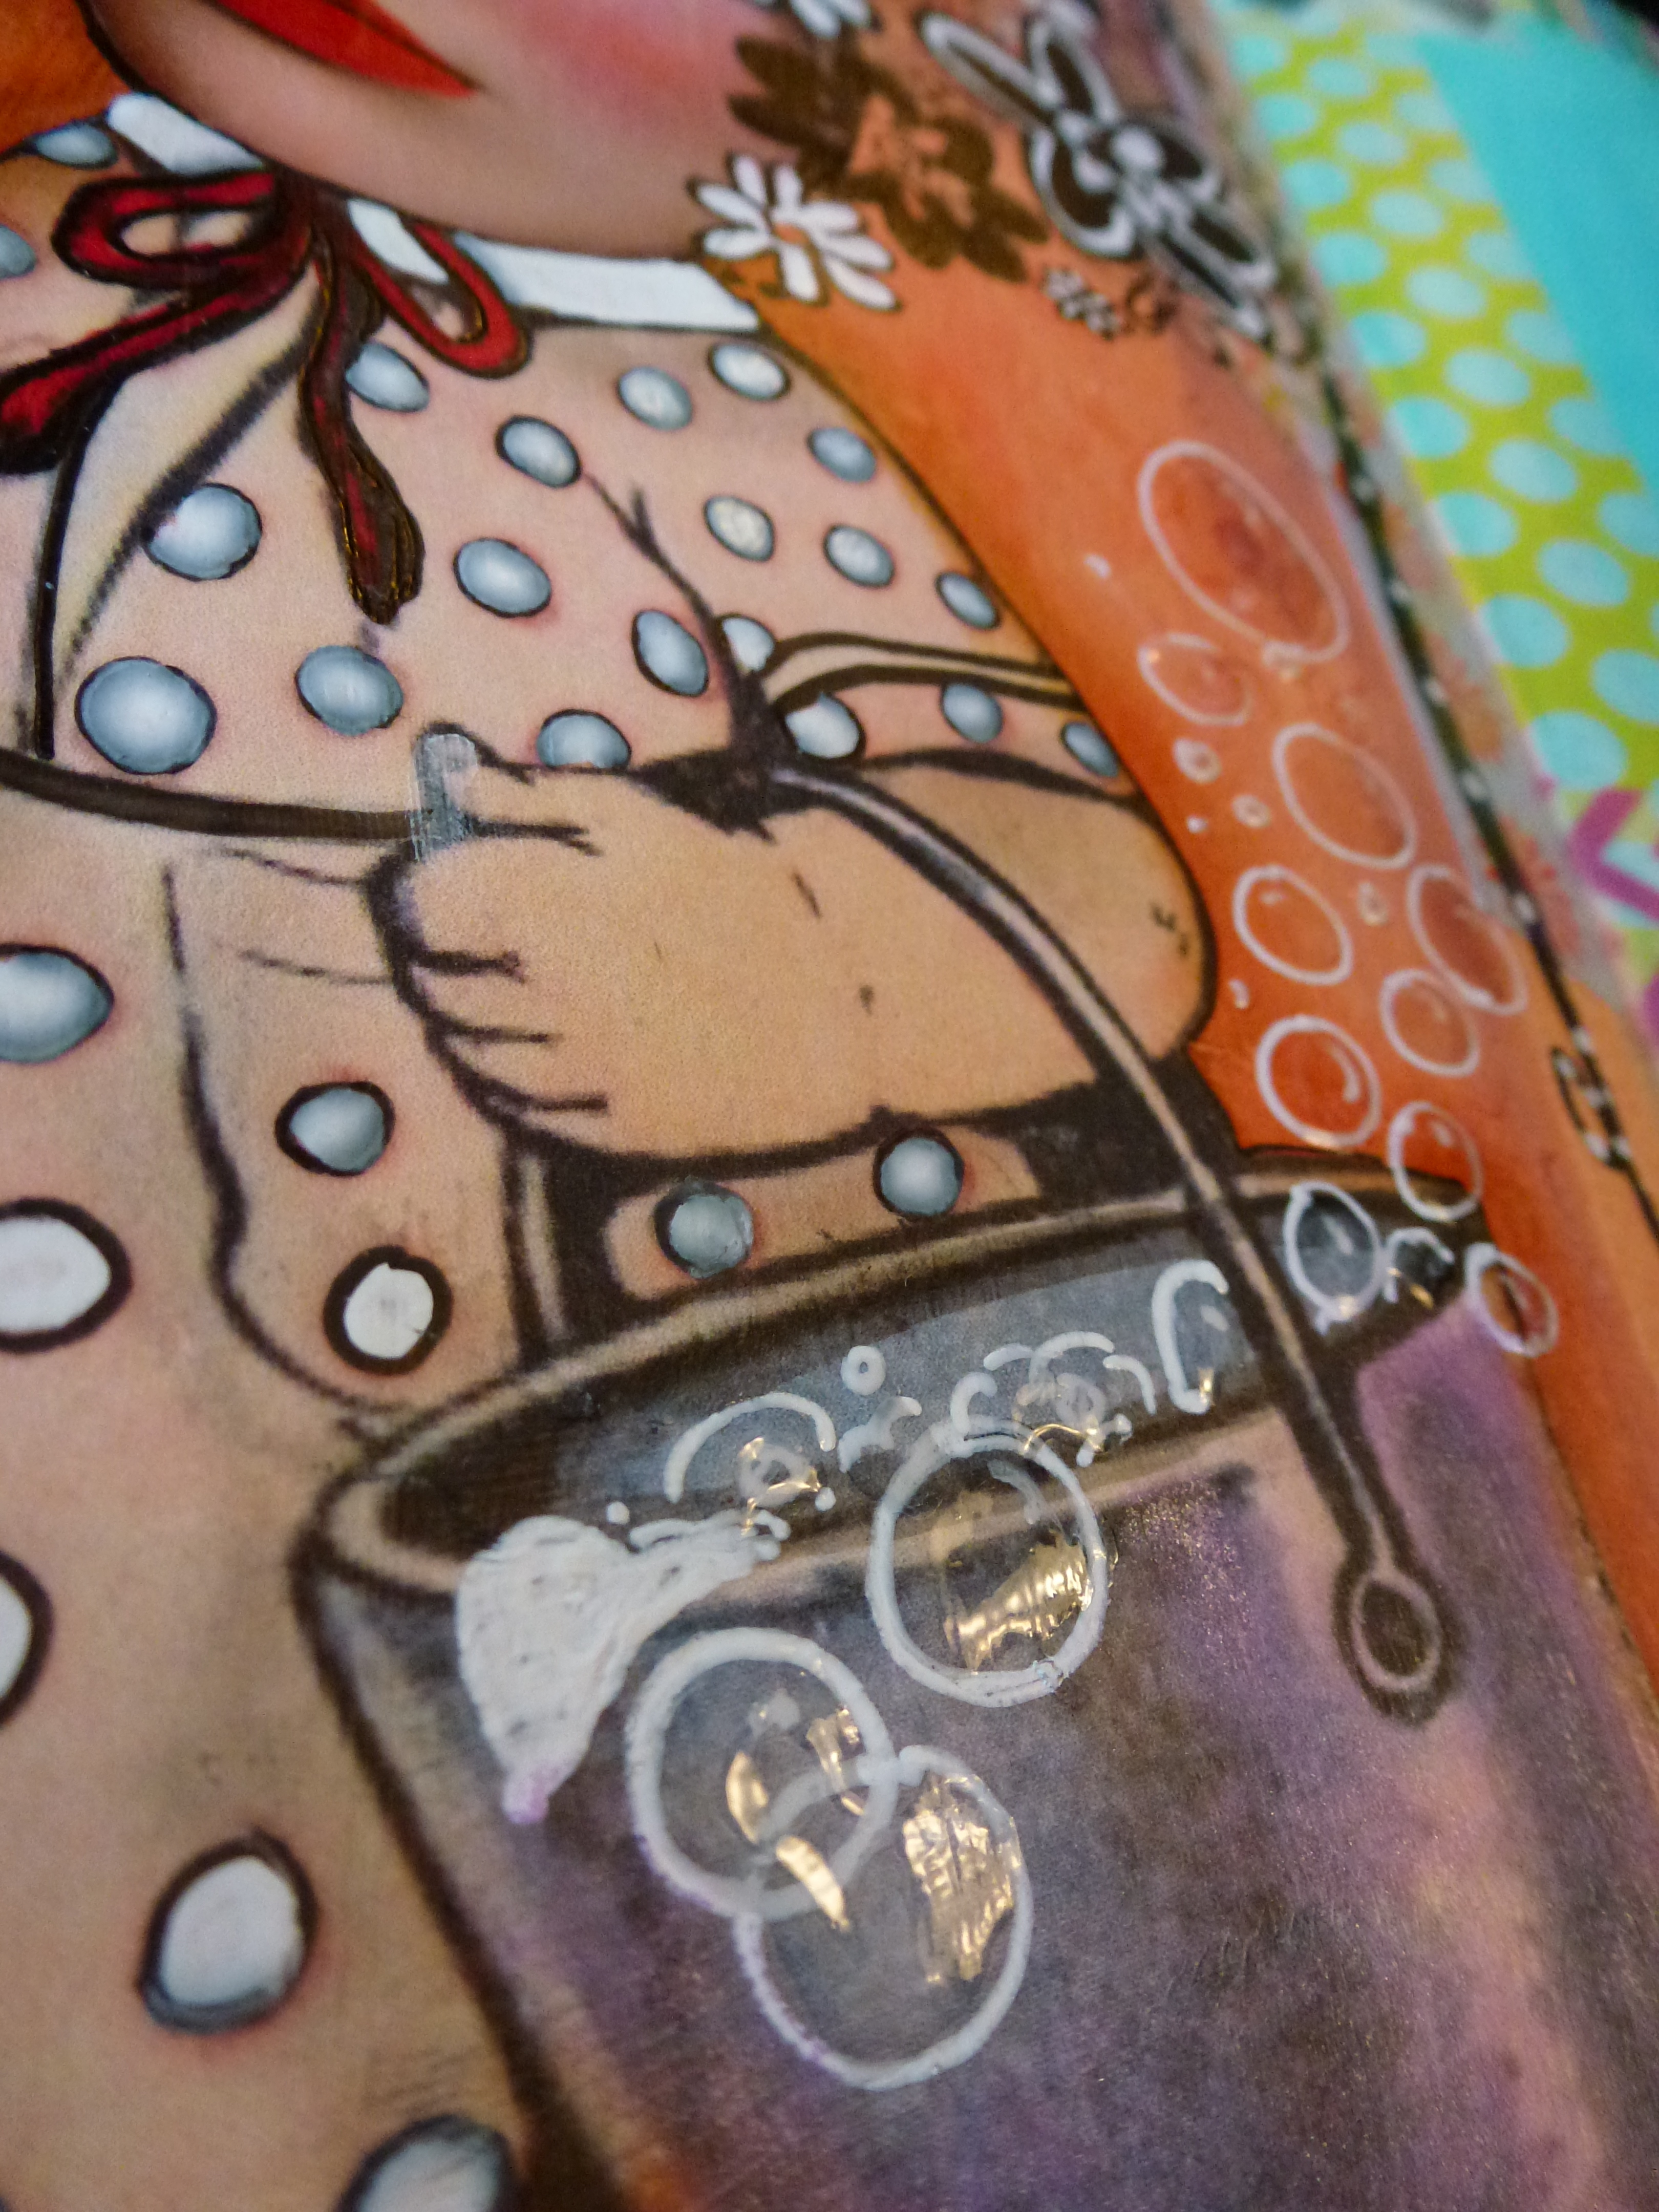
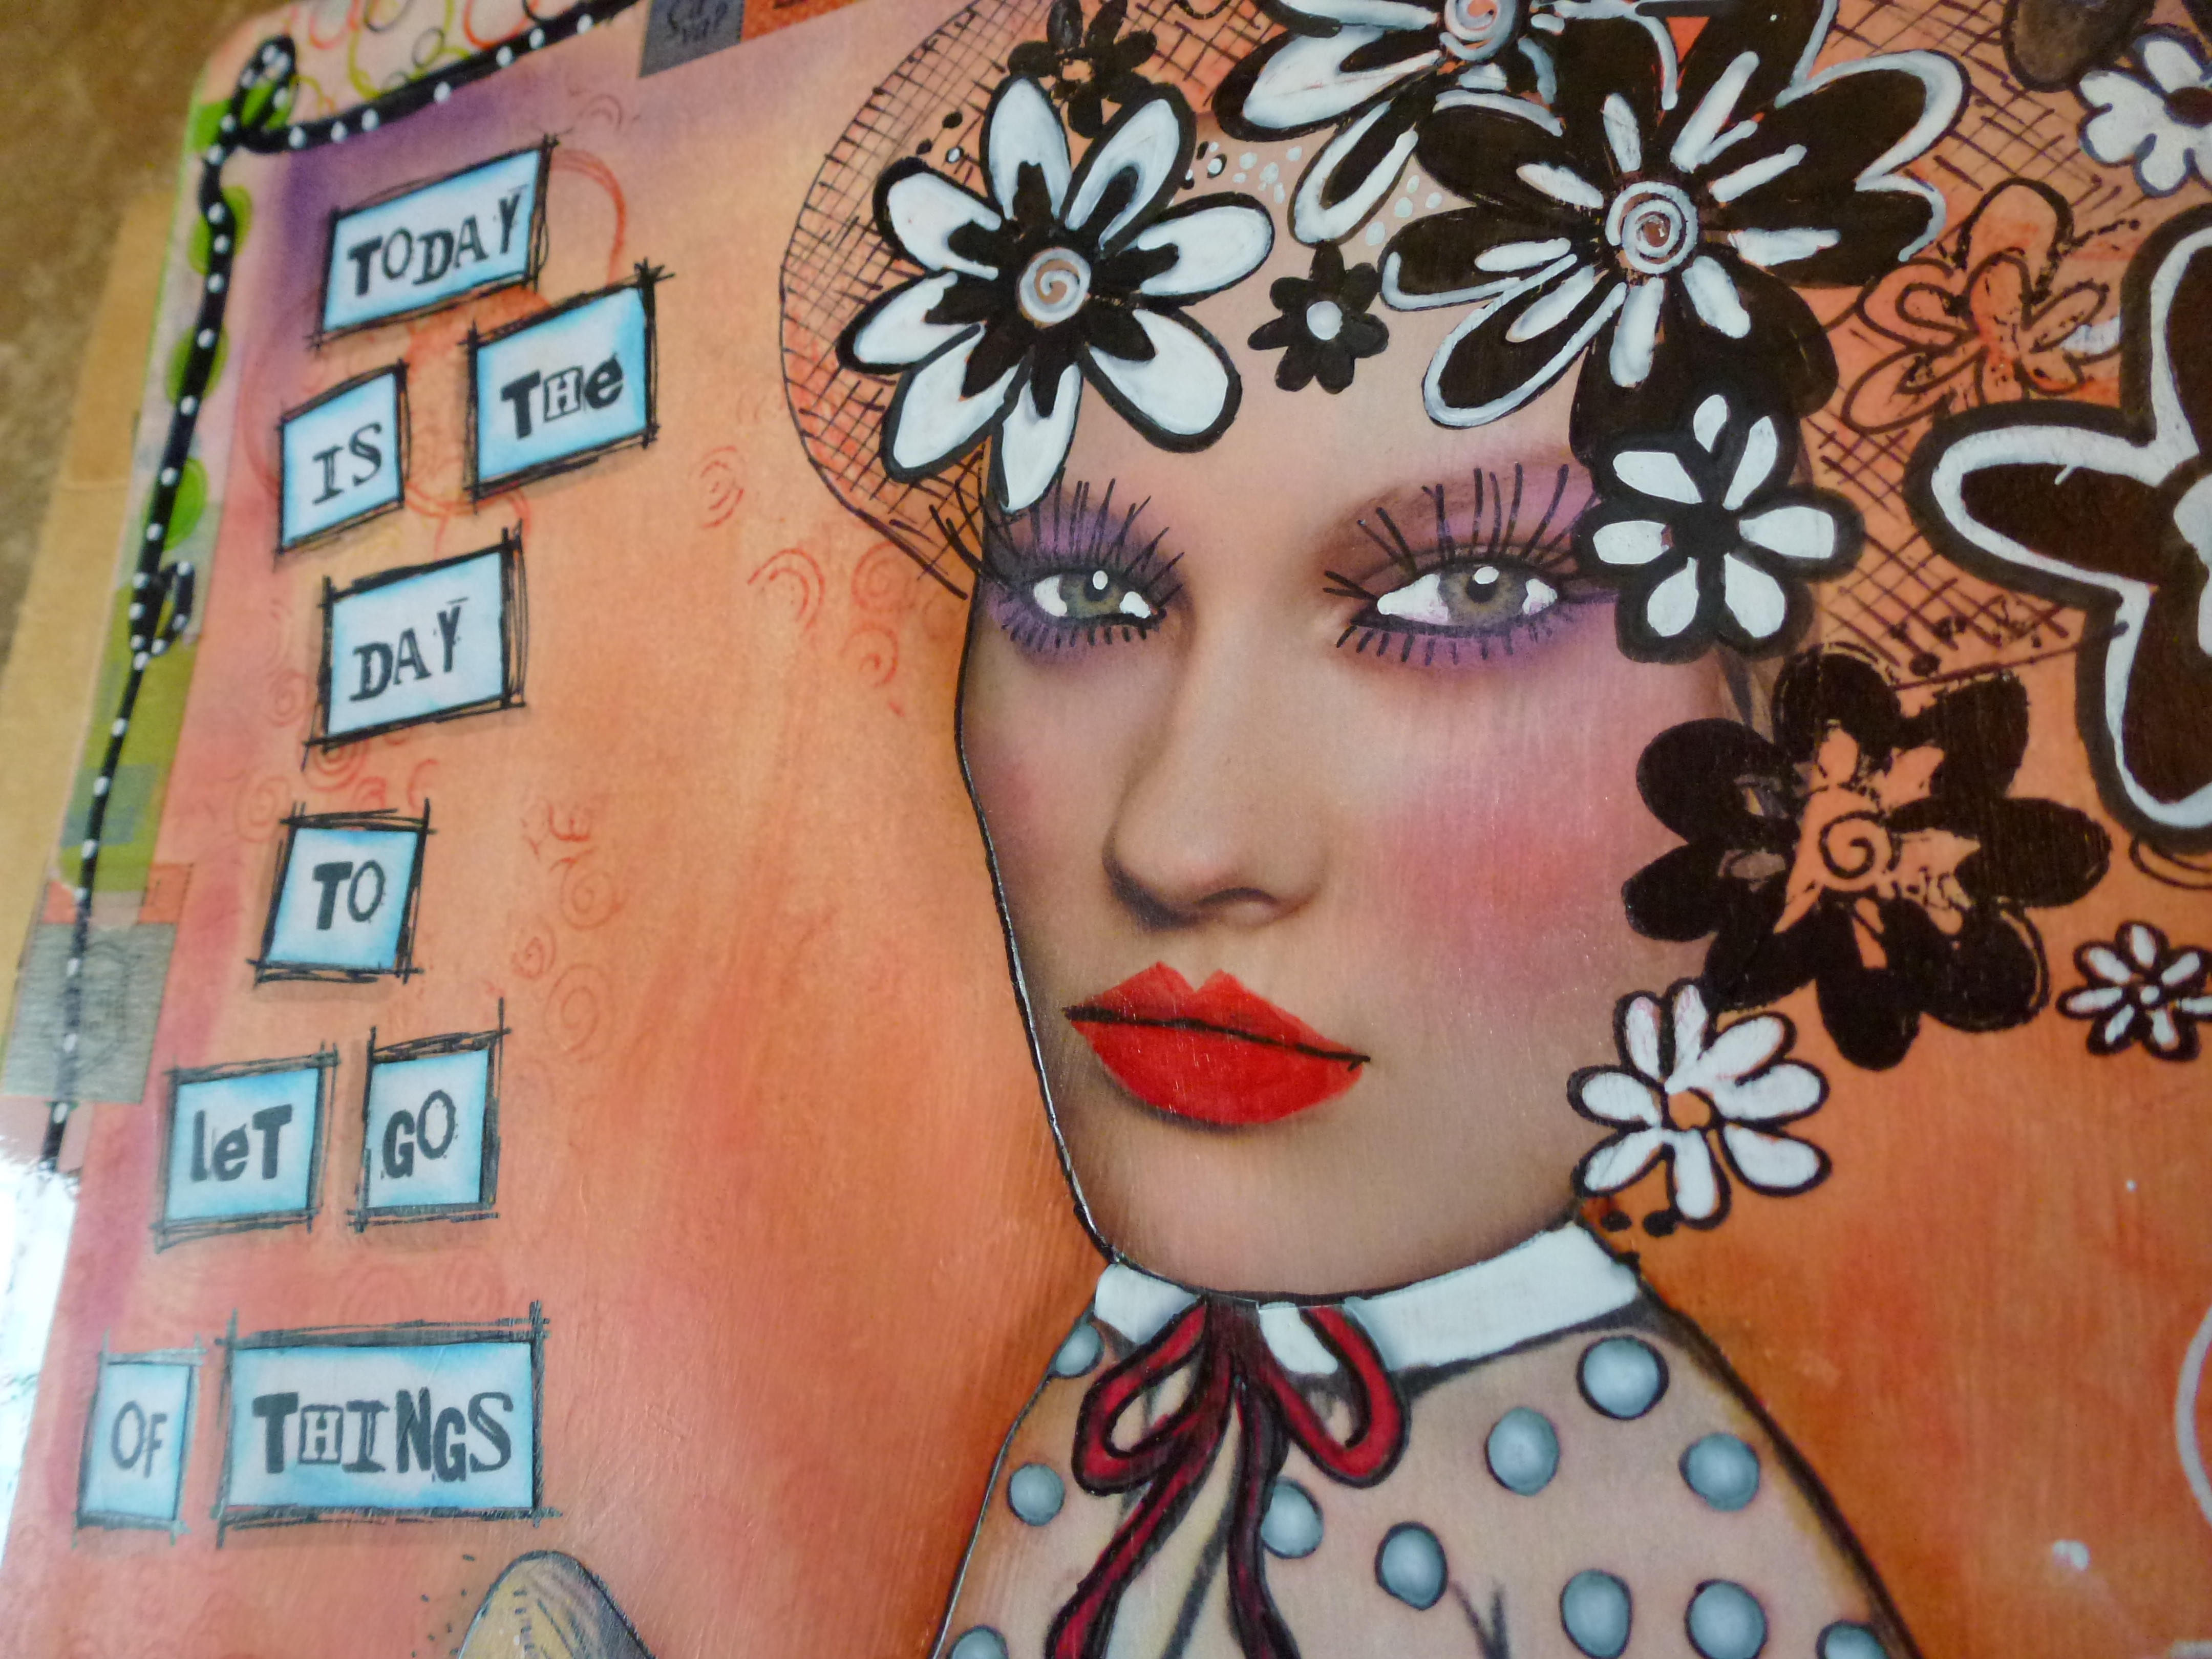
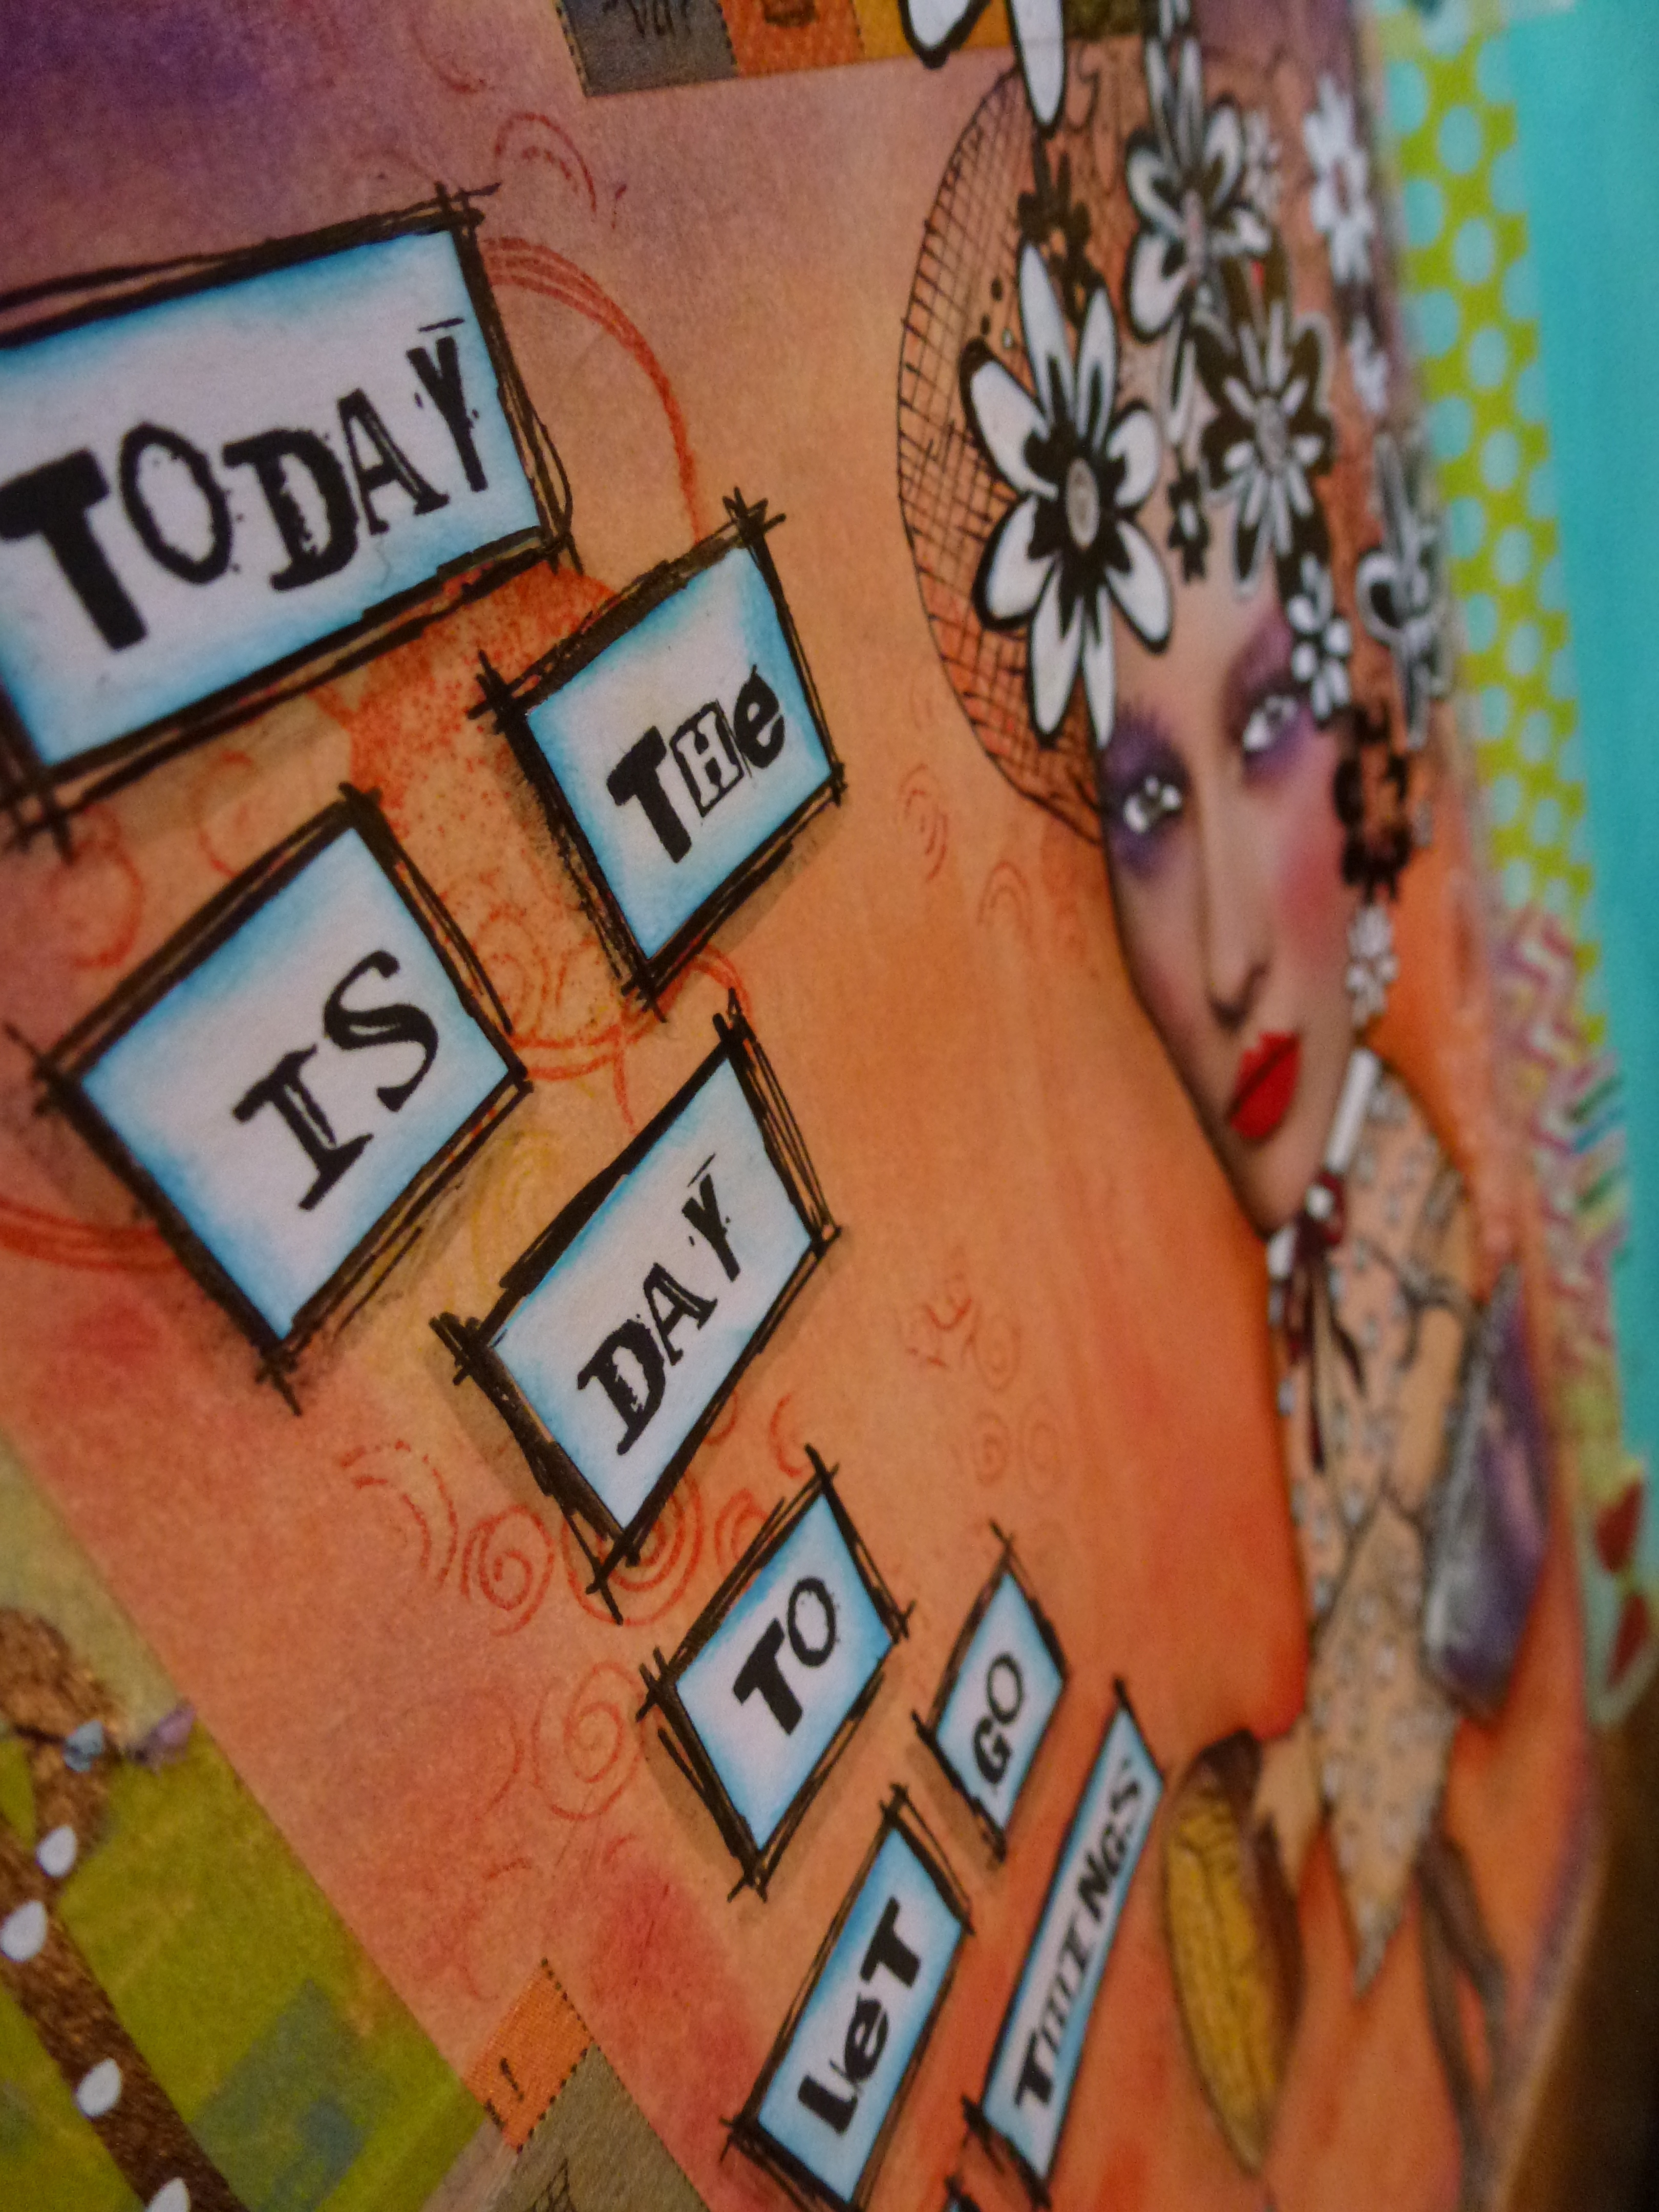
I’ve been experimenting more and more with collage and altered images. This was created in my art journal, but now I wished I’d had the foresight to know I’d like it so much that I’d want to hang it on the wall.
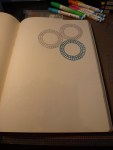
I love how the Glossy Accents make these bubbles shine.